
Custom Desk
Custom Office Desk and Hutch Part 1
Designed and built a custom desk and hutch for a home office
LARGE PROJECTSHOME IMPROVEMENTS
For my office makeover, I put in a coffered ceiling, custom built-in desk and a custom hutch. If you have followed the blog, you have already seen the ceiling. Now let's talk about the desk and hutch. I always wanted a custom built-in desk. Every desk I have ever owned came from some box store. This one had served its purpose. It was about 6 years old and the most uncomfortable desk I ever owned! The existing hutch was an Ikea special.
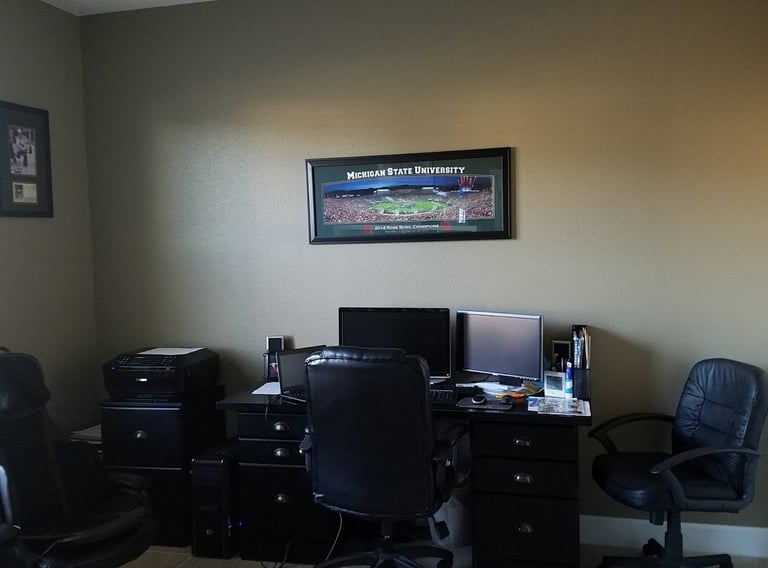

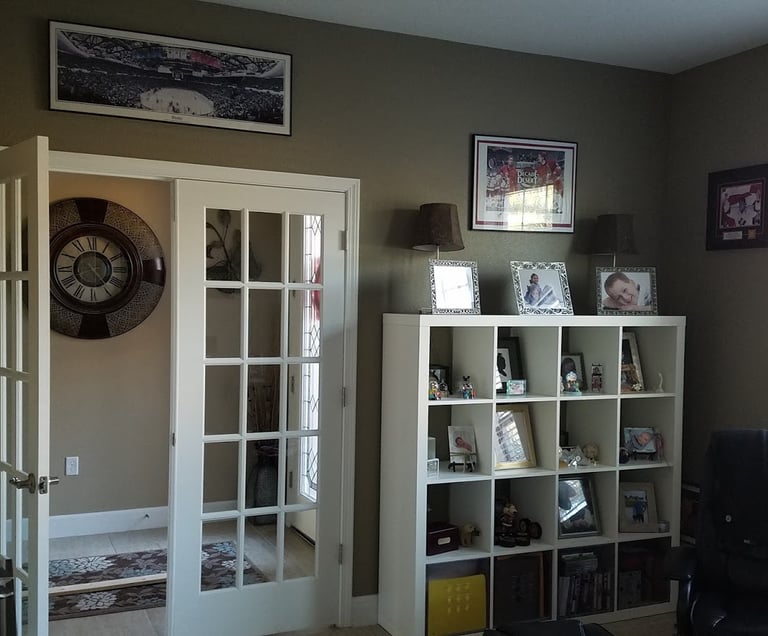

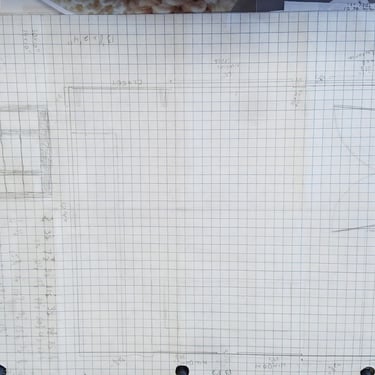
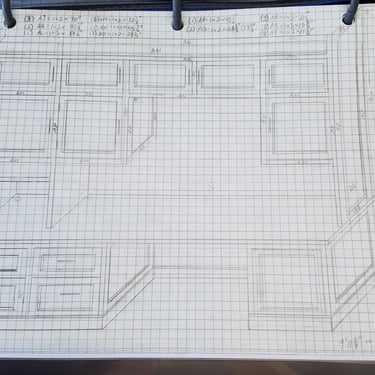
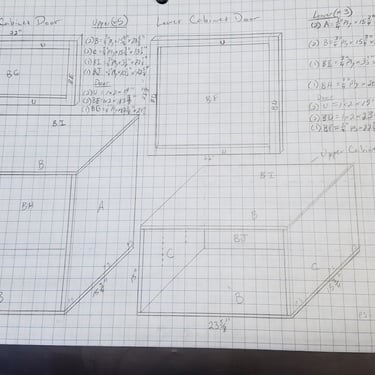
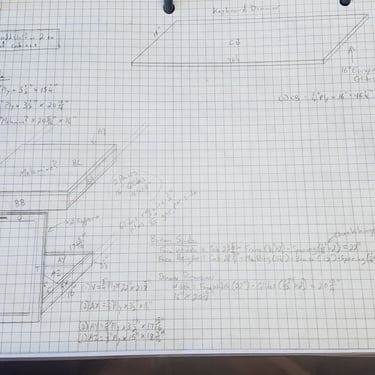
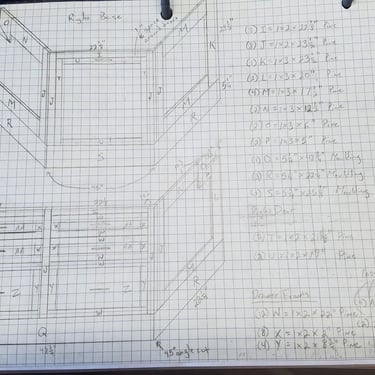
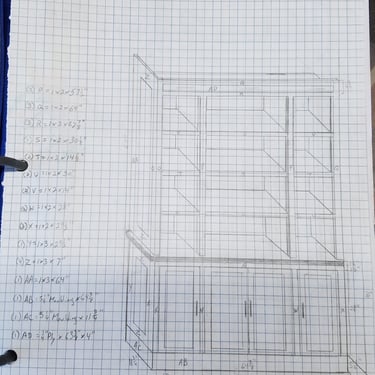
Before I got started, I needed to know what I was building. I did a ton of research online to see what others had done. I finally found a style I liked but had to create my own design because it was a bit of a unique space. I laid out the room to figure out what dimensions I had to work with and decided that I would butt one end of the desk against one wall while the other end would come as close to the closet as reasonable.
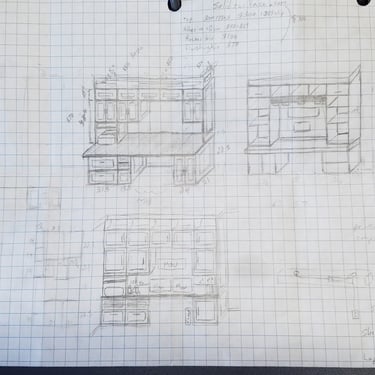
I then went through a number of rough sketches before I settled on a design. Then, I painstakingly did a detailed design so I knew what materials I needed. This office was my first ever design from scratch so I wanted to make sure I got it right.
Design
Base Cut and Assmebly
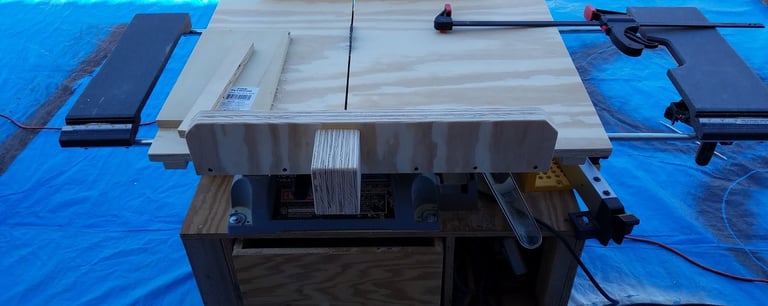
Before I started, I realized that I needed a sled for the table saw. I also never made one so this was an experience and became a project in itself. Took me forever to get it perfectly square and even when I though it was, it wasn't. Spent the better part of 2 days getting it right. This wasn't a great table saw either so I think the blade kept slipping from a perfect 90 degrees.

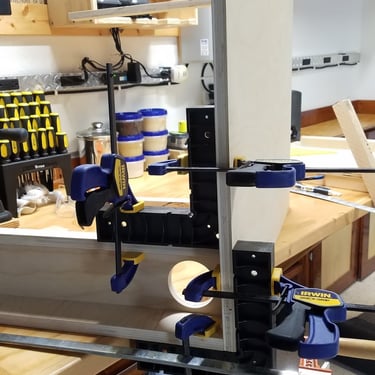
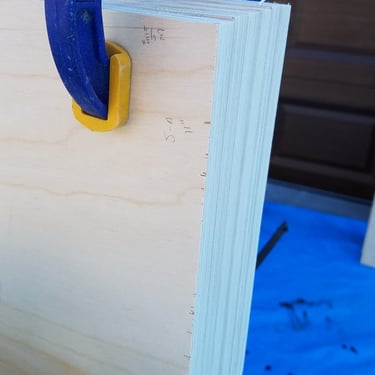

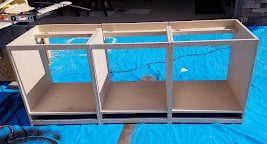
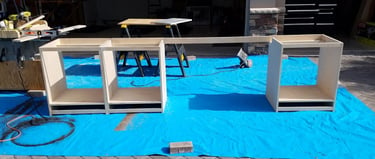
Finally, the cutting and sanding began. I started with all of the base cabinets so that I could order the granite as they needed to come and measure. I clamped all of the sides for the bases together so that I could sand them down evenly. That way, if I messed them up, they were messed up equally. This process took days, but finally, the assembly began. I used these right angle brackets to square the boxes. Probably one of the best tool purchases I made in a long time.
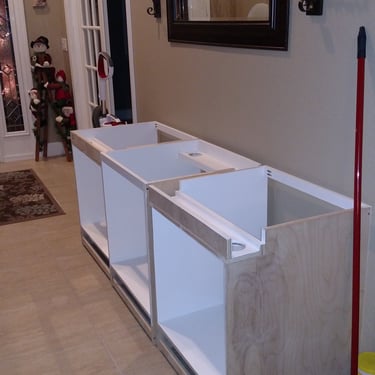
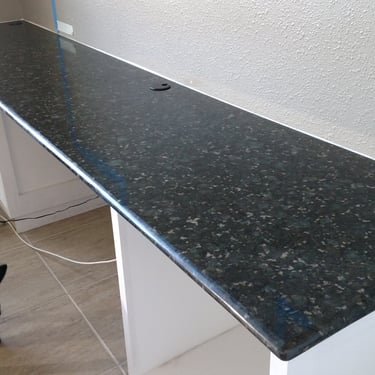
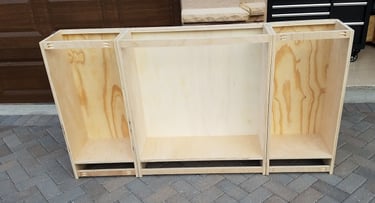
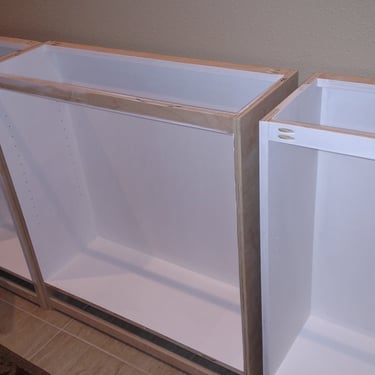
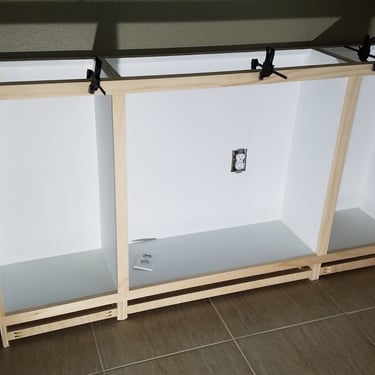
Getting the base cabinets assembled was a nice milestone. In the back of the desk cabinets, I built a cord through to run power and cables so that they aren't hanging all over the place. The granite top will have grommets drilled to allow me to run the cords where I want them. I laid the cabinets out for the desk and the hutch to get an idea of how they would look in the office. I made heavy use of my new Kreg jig to do this assembly. I didn't bother putting backs on the desk base cabinets since they will have drawers but the hutch will have doors so wanted that to look finished inside.
Base Cabinets
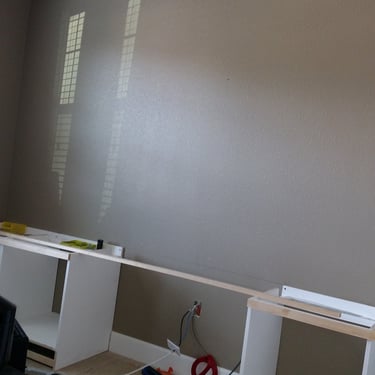
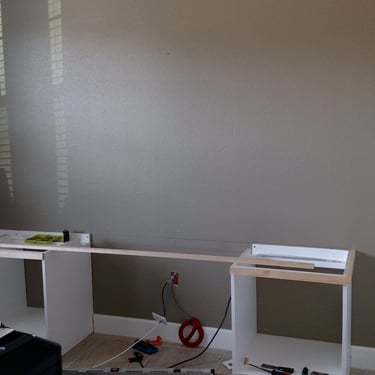
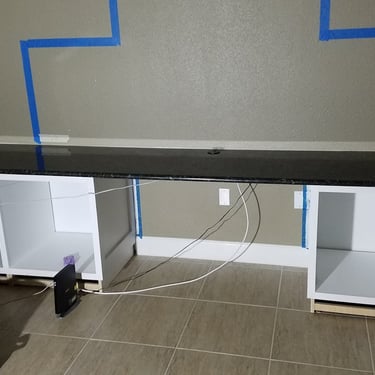
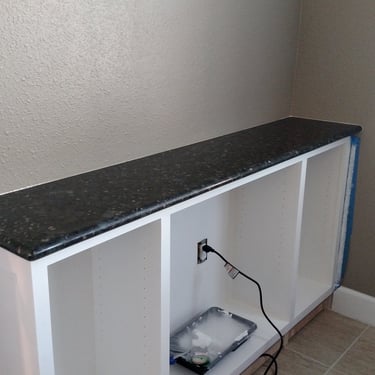
I needed to get the base of the desk and hutch in place for the granite to measured. Everything need to be square and leveled as best as I could which was difficult since it was a 10' span and the floor and wall aren't even or level!
The guys who came were great. They made very precise measurements. It took 2 weeks for them to come back with the cut granite. Since the desk is 10' long, they did an 8' piece with a 2' piece. This allowed me to put the joint line beneath one of the walls for the upper cabinet so it is barely noticeable. I went with the bull nose on the granite.
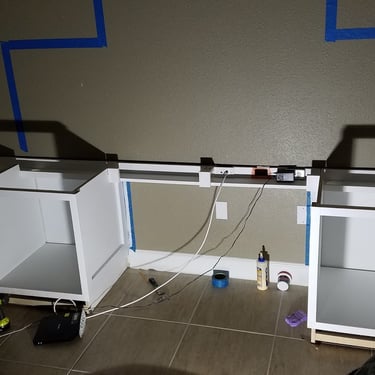
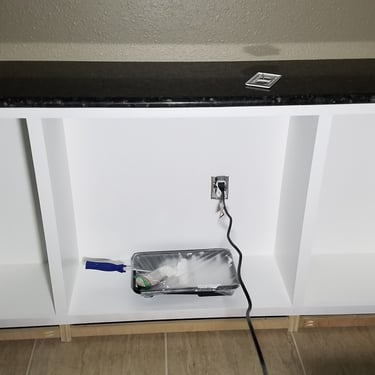
The blue tape on the wall represents where the outline of the upper cabinets will go. I added the trough between the 2 base cabinets to keep the wires hidden. I spent a whole day working on just the electrical to get power and cable hidden in the desk's cable through. Plus I added outlets up above the top of the cabinets for adding the lighting later (not pictured). Then I spent a day trimming the base cabinets and finish painting.



Back to Work
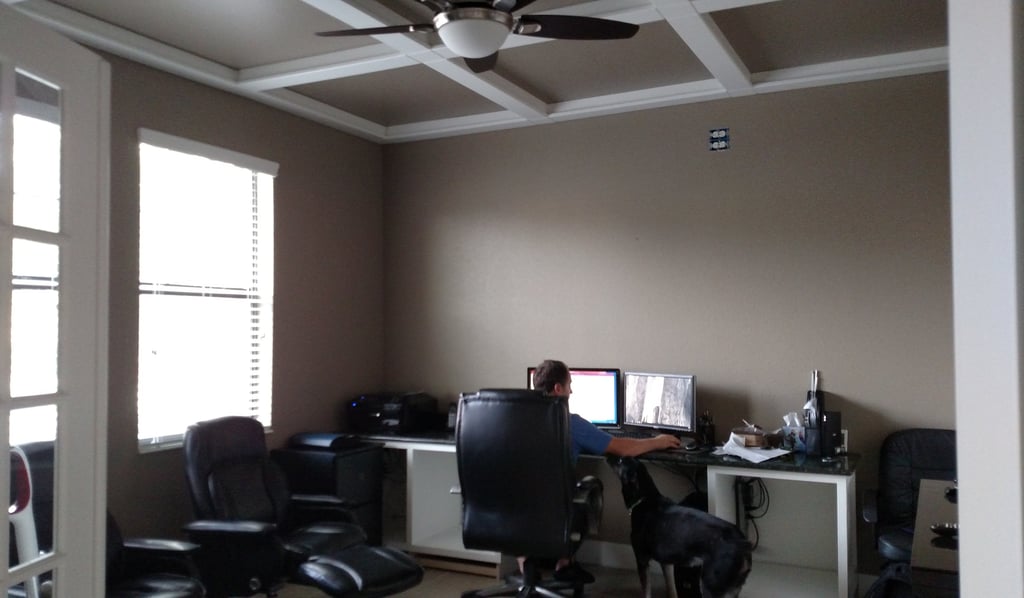

With a multi-week project, I had to put the office back into use. Below you can see the outlets that will be used for the lights and the desk in working order along with my trusty companion. Next up will be building the upper cabinets.


