
Flooring
Vinyl Flooring
Installation of Golden Arrowana Vinyl Flooring
HOME IMPROVEMENTS
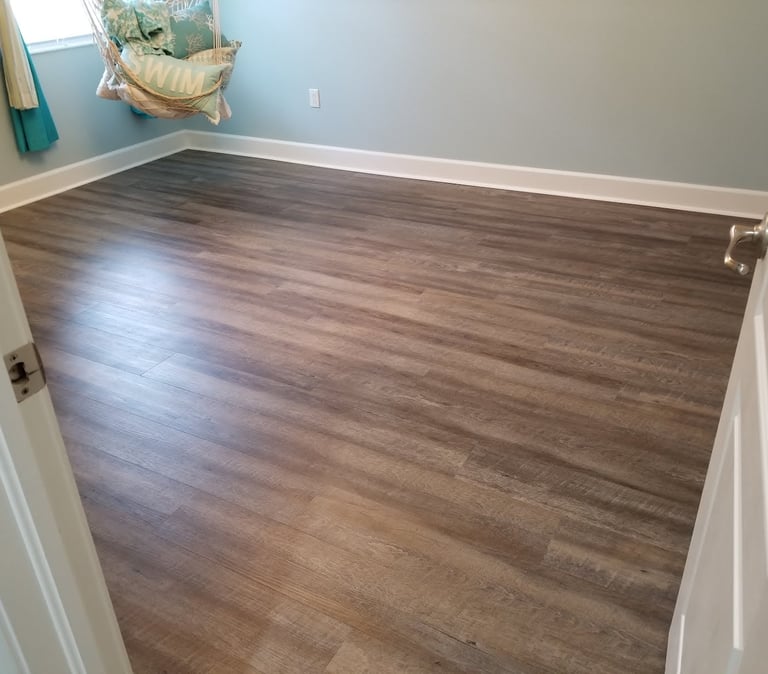
When we built our new home, we decided to go with the generic builder carpet in the bedrooms. I told my wife that in 5 years we'll rip it out and replace it. Well, it's been 5 years and while we were at Costco a few weeks back, we saw this Vinyl plank flooring on sale from Golden Arrowana. So 3 weeks later, all of the bedrooms have been transformed from carpet to vinyl and the wife couldn't be happier. My back, well that's another story entirely.
Since I didn't find any help online with the installation process, I decided to record a video for others to use if they need help.

Preparation
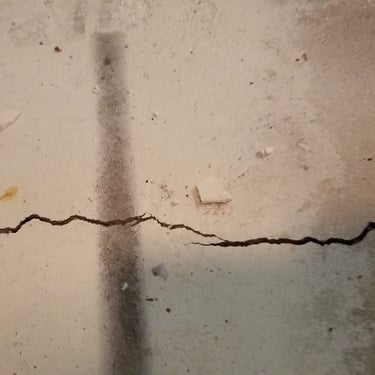
When I ripped the carpet up in each room, it was standard to find cracks the width of a quarter going across the cement floor in 2 directions, meeting somewhat in the middle of the room.
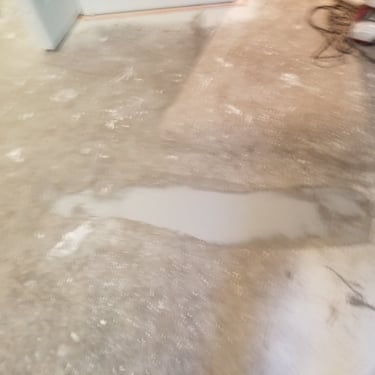
I used DAP cement filler to fill them up and level out the uneven spots in the floor. Then I scraped the floors so there wouldn't be uneven spots under the flooring.
Installation
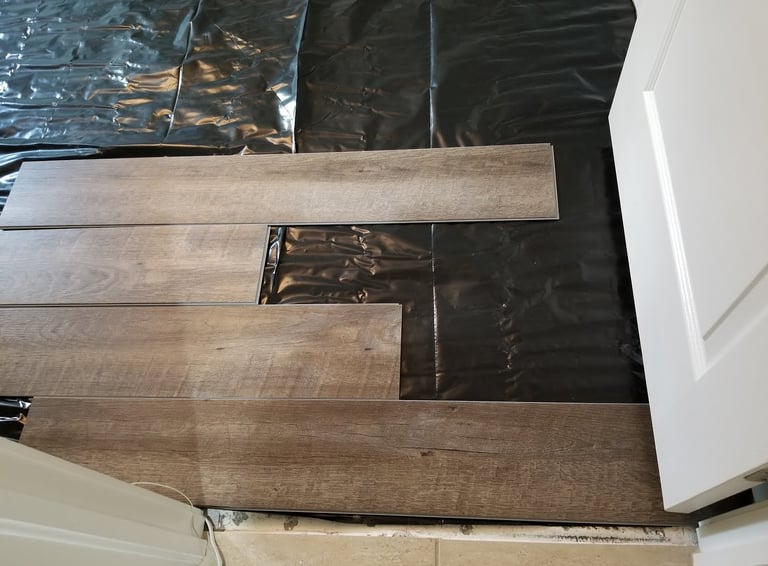
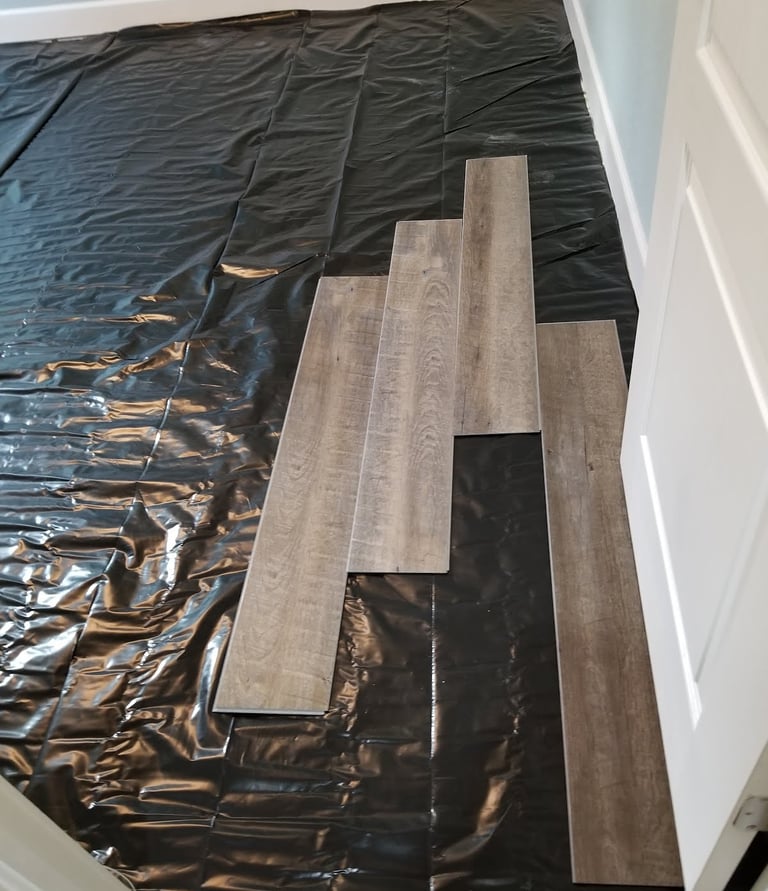
Once the floor was somewhat level, the cracks were filled and the tack strips were up, I put down an underlayment. This was only "recommended" by the manufacturer and not required. I decided after hearing about some horror stories about moisture and the fact that we live in Florida and the floors had those cracks that it was best to put it down. For $16 per roll of 120 sq. ft., it was worth it!
Then we had to decide on direction and pattern to lay the planks. In each room, we chose to lay them parallel to the longest wall to make the room look bigger.
Starting in the back left corner of the room and working in rows, we laid them out, staggering each row so that there was a repetitive pattern of 4 staggered planks. This also made the math for cutting easy since each stagger was a foot apart.
You do need to do some math to figure out where the planks will end up when you get to the other wall and the doorways. I recommend that you split the doorways with 2 planks instead of one straight across. It will make cutting easier. Trust me!
I'm not going to lie. Cutting and pounding the planks in place was brutal. I had blisters from hammering after I finished the first room and my back and knees were throbbing. Not to mention cutting and gluing the trim once the floor was done.


Completion
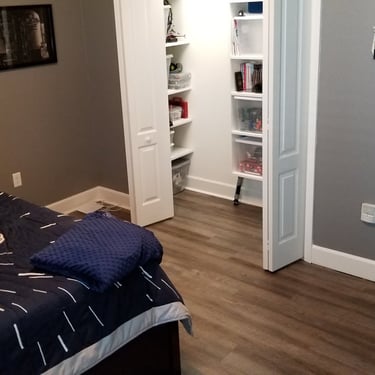
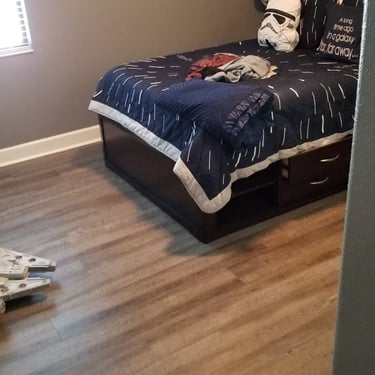
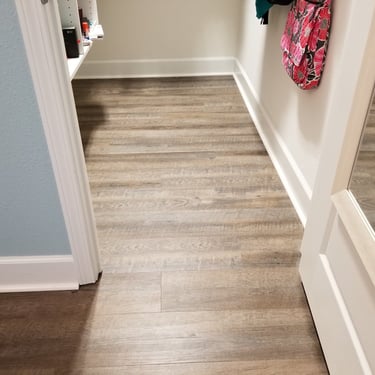
Here are some pics of the finished rooms
Check out the installation video for more on how to install it.


