
Workbench
Ultimate ManCave Garage Workbench Part 3
Building the frame for a rolling workbench build with tons of features for your garage workshop.
LARGE PROJECTSWORKSHOPS
Gary Goz
3/30/20243 min read
Welcome to Part 3 of the Ultimate ManCave Garage Workbench build! In this section, I'll walk through cutting the routing insert section into the underlayer of the table top, adding the door to the router fence storage area, putting a downdraft area in the sanding box, building the supports for the flip top, and cutting the MDF for the workbench surface.
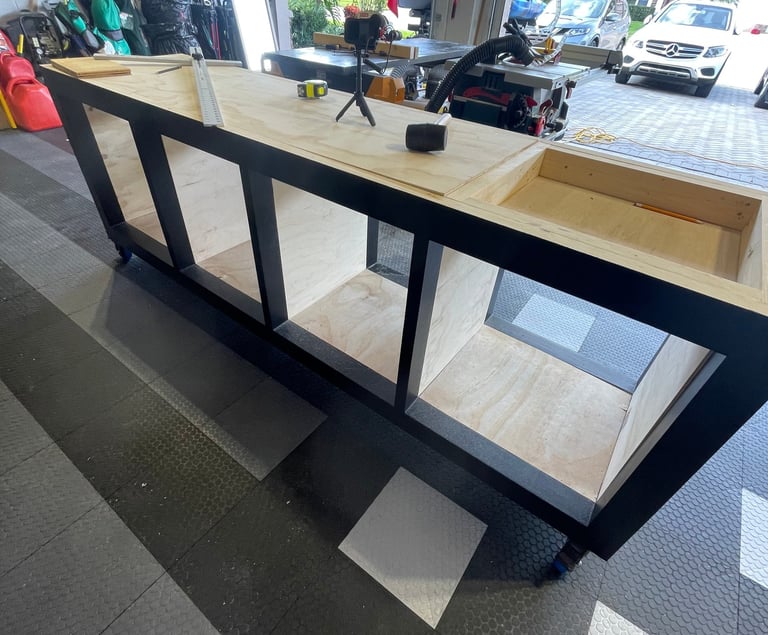

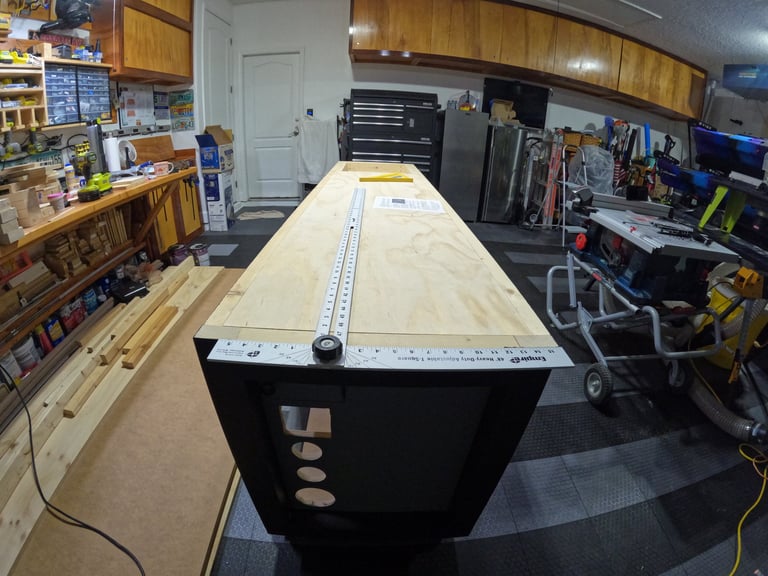
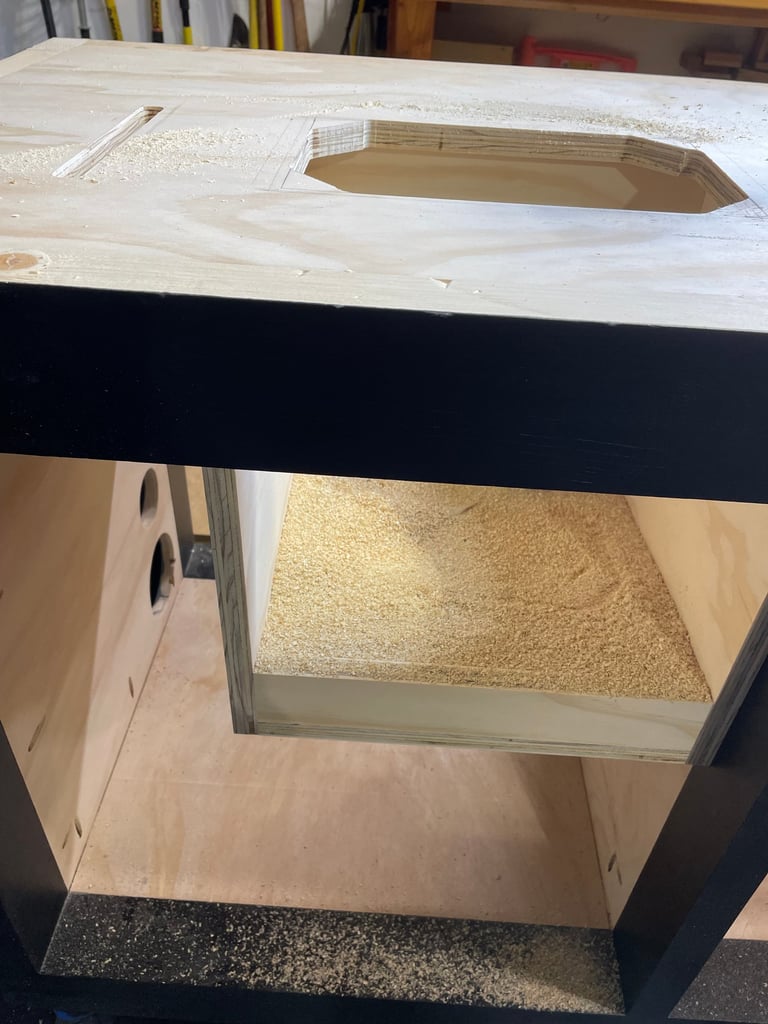
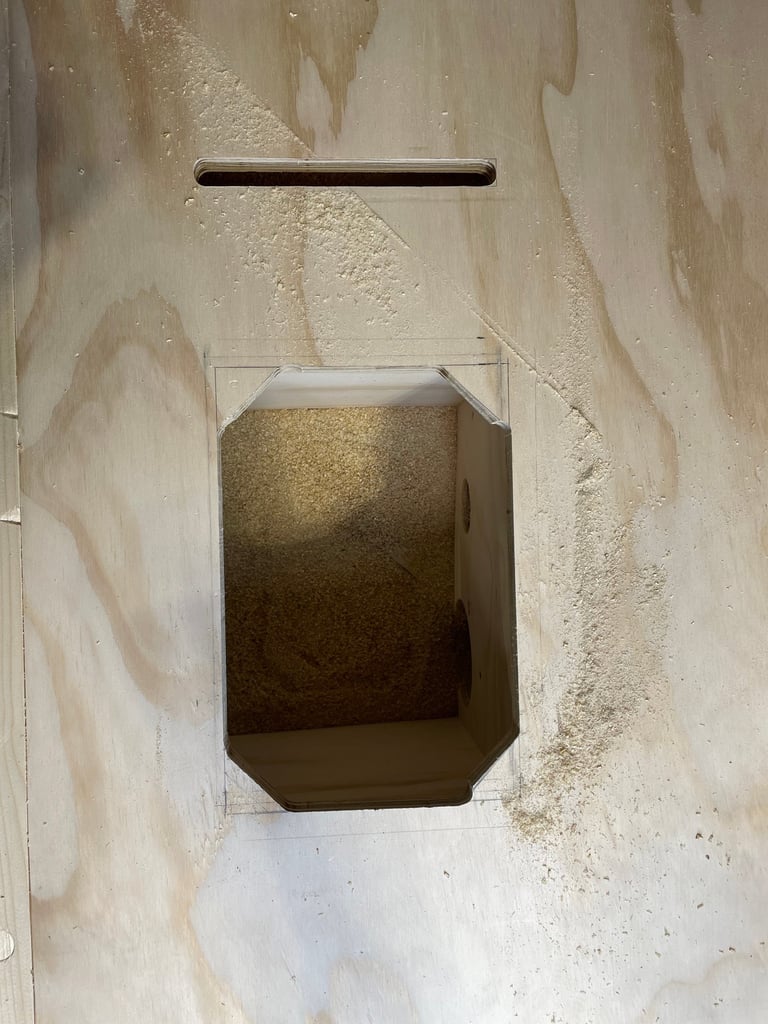
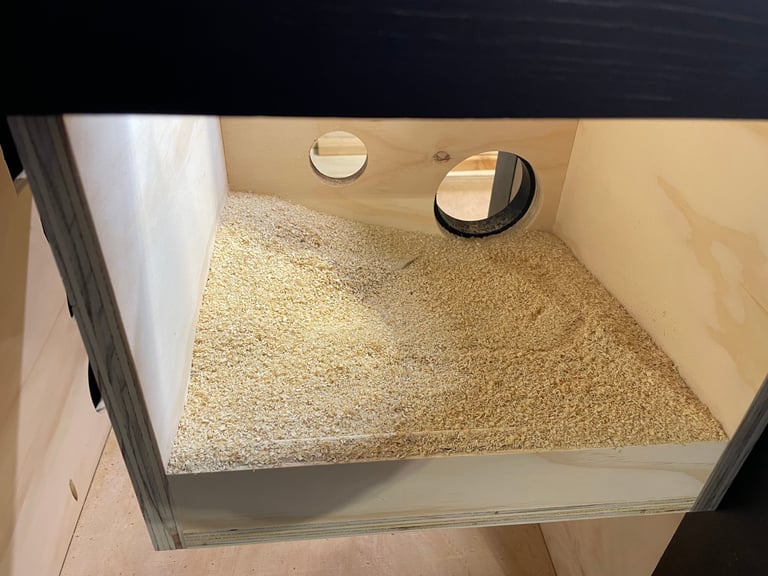


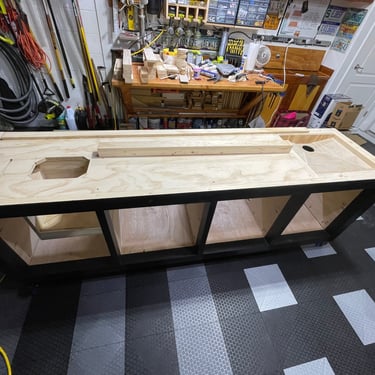
I carefully measured out the cut area by first measuring the distance for where I wanted the corner of the router lift. I then traced the top of the lift using the straight edge to keep it parallel with the front of the table. I then went to work with the router to cut the opening. I also added the slot to the left of the lift for the down draft. Check out the video of the cuts along with the router fence door installation in the next subsection.
Cutting the Router Opening
Instagram feed
Router Fence Storage Door
When I created the plans, I did not imagine I would have a section specifically for this little door! But as you can see in the video this became a real headache because of the number of times I had to cut it down to size. I didn't originally leave enough room for both the hinge as well as the space needed to actually open the door. I think I trimmed more than 1/4" off the edge.
My recommendation is to install the magnet before putting the storage area top on! Also, test fit everything, then paint the door!

Sanding Box Floor
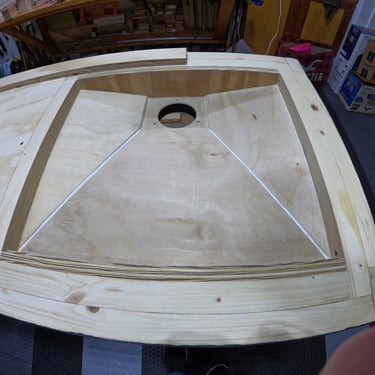
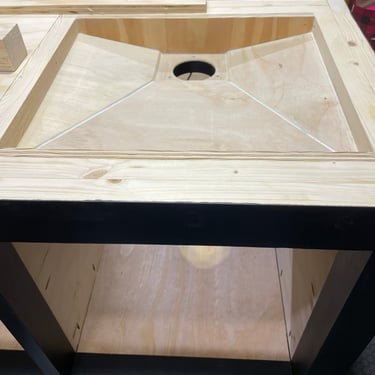
I added an angled floor to the sanding box section to help direct the air flow into the dust system using 1/4" plywood stood up around the edges with 1x2 scraps. I drilled a 4" hole and bolted the inlet flange to the bottom where I will later attach the dust collection hose. Finally, I added caulk to close any gaps in the plywood floor to help with air flow and avoid sawdust going places I don't want it.


Flip Top Support Bar
At this point I also built the support bar that will be the anchor point for the flip up top that will extend the workspace an extra 2'x8'. This is basically a squared 2x3 and 1x3 glued and screwed together. It is attached to the base with lag bolts. I was careful to space it so the plywood sat on top of it flush with the main base. I cut additional 2x3 sections and screwed them in beneath the support. These will act as anchors for the shelf brackets.

Flip Top Base Supports
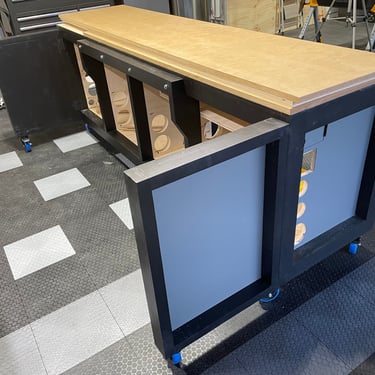
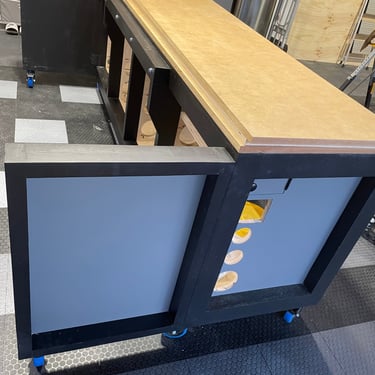
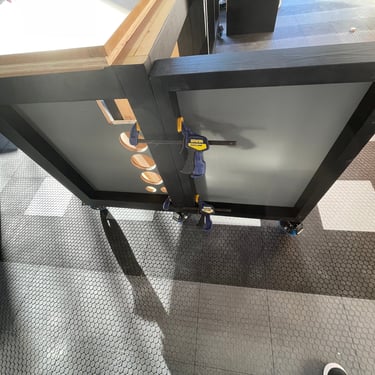
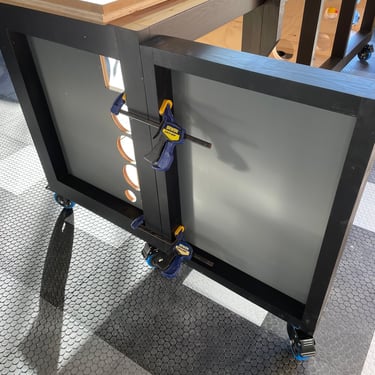
Next up are the "wings" for the flip top. These will act as an extension of the base of the workbench. They will swing out beneath the flip top. With casters at the base, they will allow the extended 4'x8' table to still roll around the workshop. I miscalculated the dimensions when I first built these. Not sure how I screwed that up, but it was a total waste. I did manage to destroy my crappy sander so I did get a new sander out of it.
After taking a break, I did the rework, and built them the right way. I had to go get more wood and re-cut and re-joint the boards.
Have I mentioned that I hate dowels? There are some good woodworkers out there that make them look easy. I'm not one of them.
I did finally get these assembled, but I'm going to have to figure out a better way to align the dowels. This jig ain't doing it for me.

I painted my two base colors and then assembled it together including adding the casters. After attaching them to the base with the hinges, I added a threaded insert to the top. This will act as a riser so I can adjust the flip top to be level with the base.


MDF Bench Top
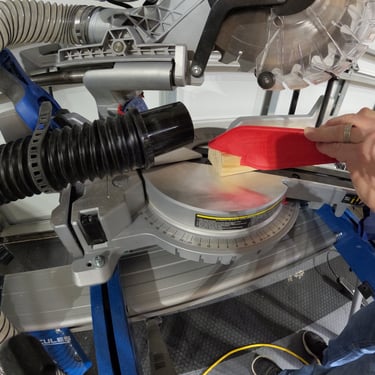
The dirty work of cutting MDF is, well, dirty. MDF makes a mess and I should probably be wearing a mask. I had one out and promptly didn't use it. I cut the main top and then cutout the section for the sanding down draft. I also cut the bottom and top sections of the flip out.


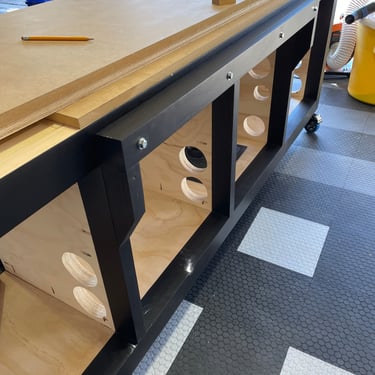
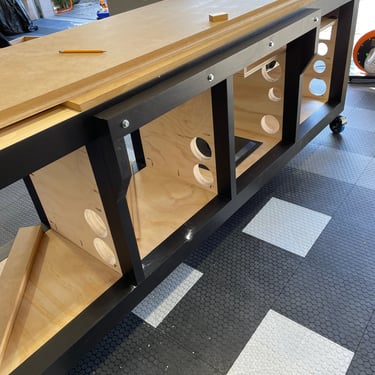
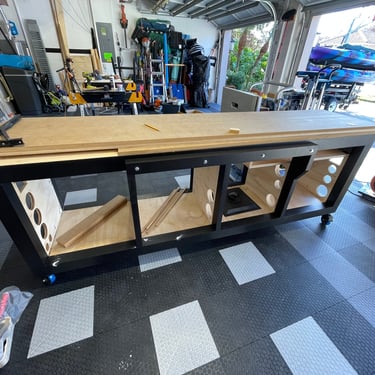
That's it for part 3. Full Video coming soon...
info@mancavegarageworkshop.com
ManCave Garage Workshop
Florida
United States


@ 2023 ManCave Garage Workshop
