
Workbench
Ultimate ManCave Garage Workbench Part 2 - Surfaces
Building the frame for a rolling workbench build with tons of features for your garage workshop.
LARGE PROJECTSWORKSHOPS
Welcome to Part 2 of the Ultimate ManCave Garage Workbench build! In this section, I'll walk through adding the floor, walls, a router fence storage area and the router box insert with down draft.
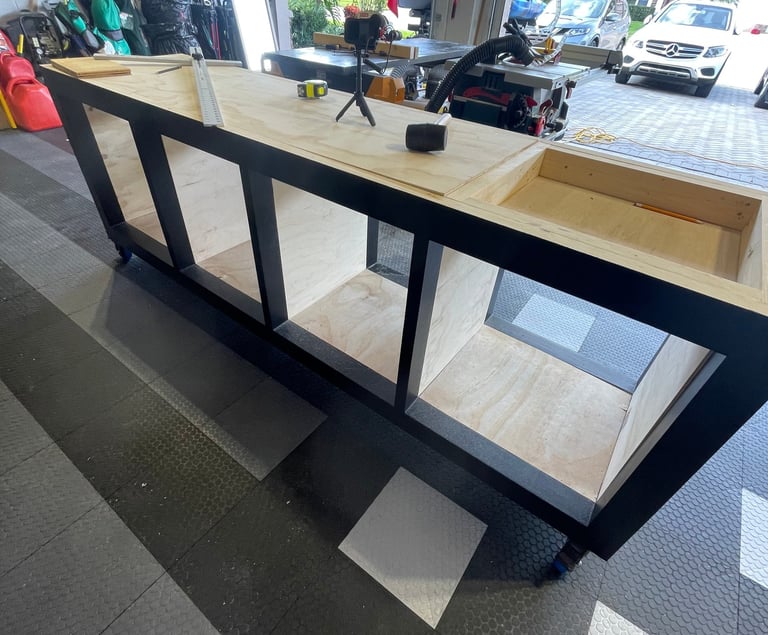

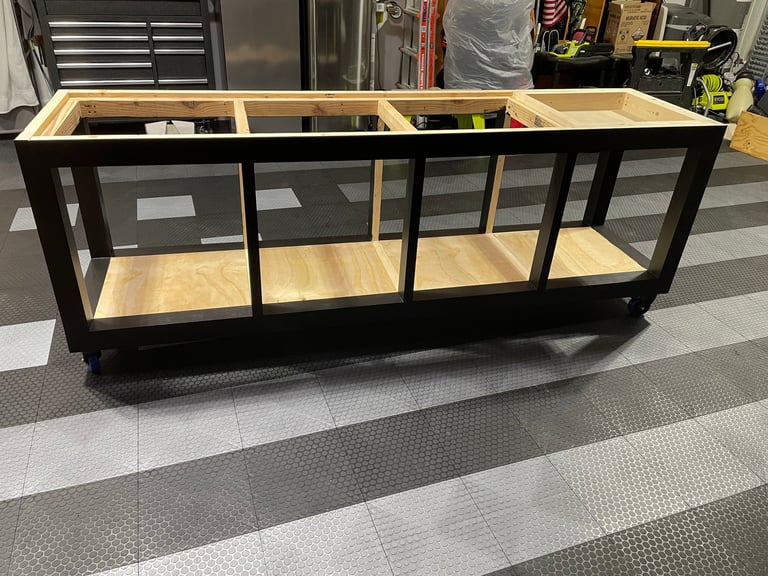
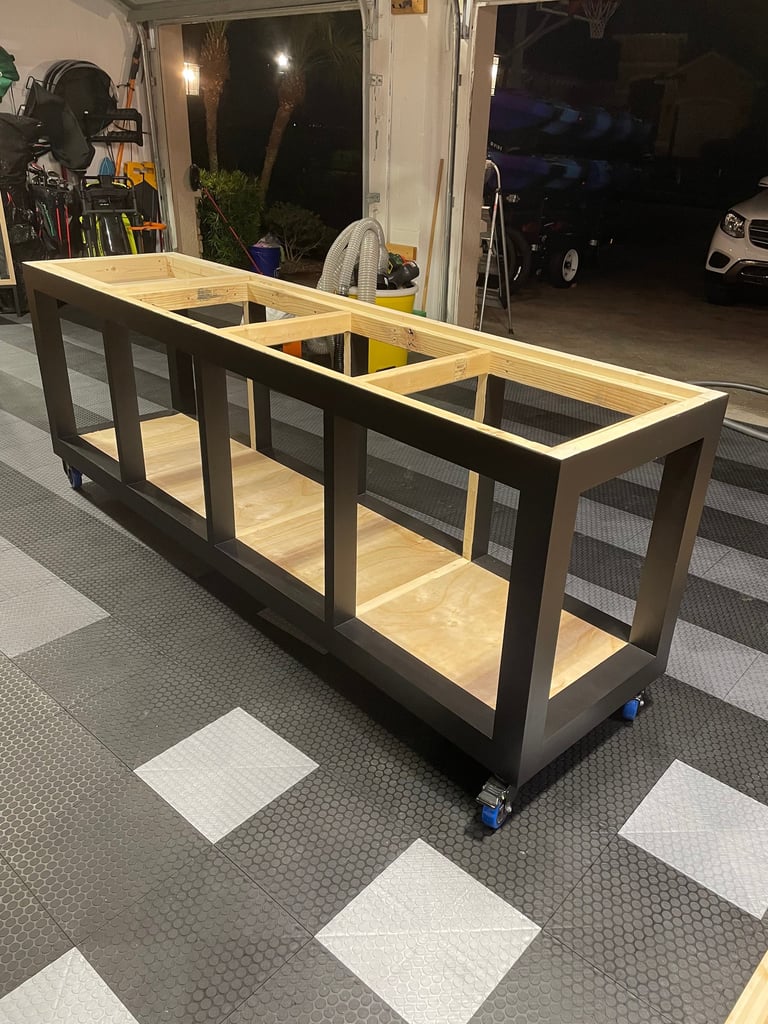


While the workbench will be mostly drawers, we still added flooring to each section. I don't want little creatures crawling up and making a home inside my workbench. These are just 1/4" plywood with a 1x2 support. A little wood glue and brad nails hold them in place.
The Floors
Instagram feed
Walling it in
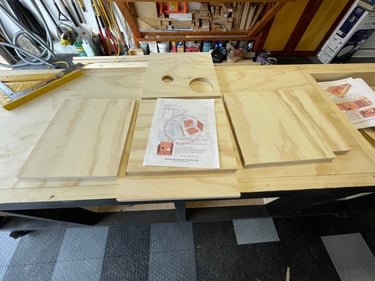
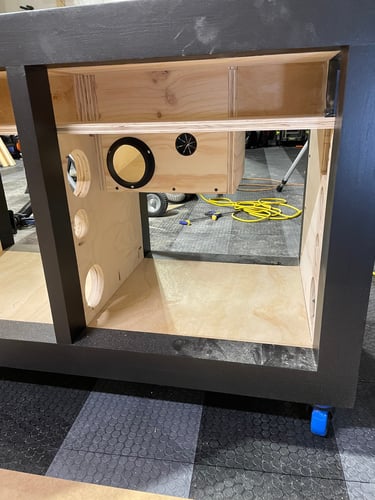
First, I added the 1st layer of the top of the workbench. This will act as a support for the MDF top layer. Then I cut the walls to the exact dimensions and drilled out and cut out various cutouts for the dust collection system, electrical and storage areas planned for the workbench. If you are following the plans, I went with the double gang electrical outlets seen in the pictures as opposed to the single gang outlets in the plans. The Kreg Jig is a great way to make those pocket holes!
Important: If you are following the plans and are using a different router fence, make sure the fence will fit this section before cutting the opening. You may need to reposition the cutouts. This was designed to hold the Rockler ProMax.


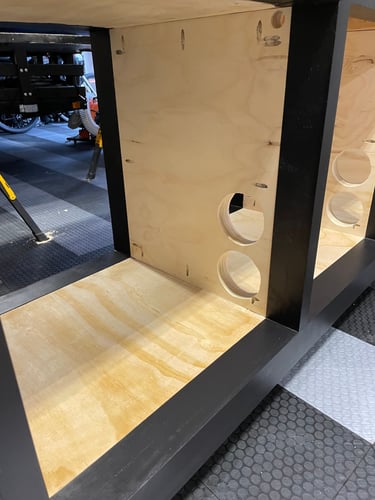
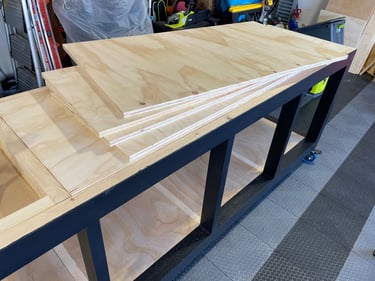
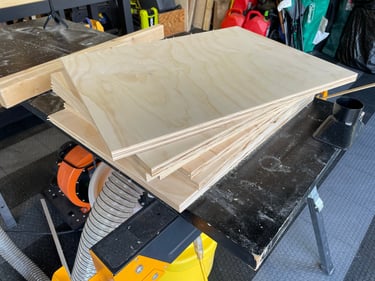


Paint the Outer Walls
I painted the walls facing out on the right and left of the workbench before installing them since they are a different color than the frame. While I was doing this, I realized that I had installed the inside walls reversed from the way I planned. I had to take them all out and swap them. When I did this, my perfect fits didn't fit perfectly anymore because of slight variances throughout the workbench. This was extremely frustrating because now I had to put caulk in the gaps where I had none previously.


Router Fence Storage
The first storage area to be built was for the router fence. I got a really nice fence from Rockler and wanted a place to keep it out of the way. This area will run behind the router lift insert and is accessed from the side of the bench. I got frustrated with my Kreg Jig because I had incorrectly set it to the wrong depth and had to redo it more than once before I honed in on the correct depth.
The door caused me problems too. I had measured it perfectly, painted it and then when I put the hinge on, it didn't fit. After multiple trims, it fell into place.
Recommendation: Install the door magnet before putting the top of the storage in place.


Router Box and Downdraft
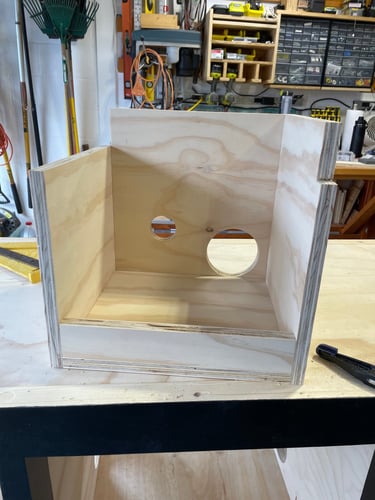
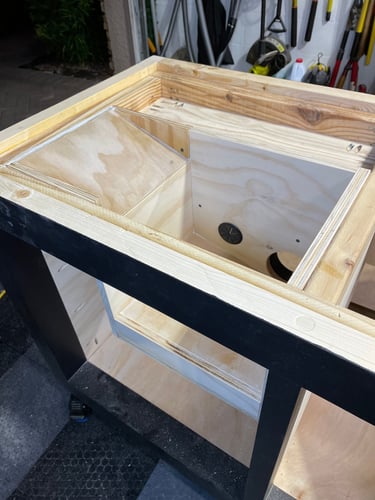
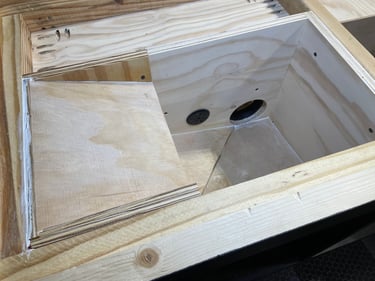
I cut all the parts down to size and added the cutouts for the dust collection and electrical. This section didn't require pocket holes because it will all be hidden so assembly was a bit easier. I cut the 1/4" plywood that made up the bottom section. I tried to angle them with a 1x2 piece of scrap along the raised edges and cut the plywood edges at a 45 degree angle to avoid any gaps that sawdust could get trapped in. I then added the downdraft section. This is pretty simple. After I glued the 1/4" plywood to the 2 sides, I ran it through the table saw to get the edges of the plywood flush with the sides. I attached it all to the bench and added the 4" dust collection connector and the grommet for the power cord. I then used caulk around all the inside edges to avoid air gaps as well as limit spots where sawdust would get stuck.



That's it for part 2. Full Video coming soon...


