
Workbench
Ultimate ManCave Garage Workbench Part 1 - Framing
Building the frame for a rolling workbench build with tons of features for your garage workshop.
LARGE PROJECTSWORKSHOPS
This is the old workbench. This one has been around for almost a decade and its been great but it has its flaws. The biggest issue is its not a great workspace for larger and longer work pieces. You can't get around them and need to spin them to work on the other side. And with big pieces, there's not much room for tools that you are using.
Plus, this setup is a pain to clean up after making a mess with the dust. With that, I decided it was time for an upgrade!
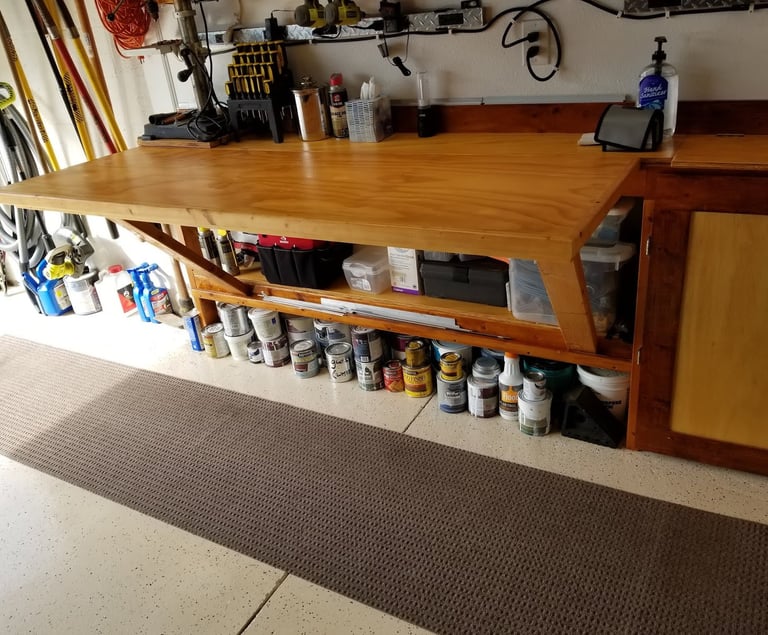

I started out with doing some research on what others may have done for a rolling workbench with a fold out top. There are a lot of workbenches out there on wheels but nothing I could find with a fold out top. Since the garage is used to park cars, I couldn't just build a 4'x8' workbench. Whatever I built had to be able to be put out of the way.
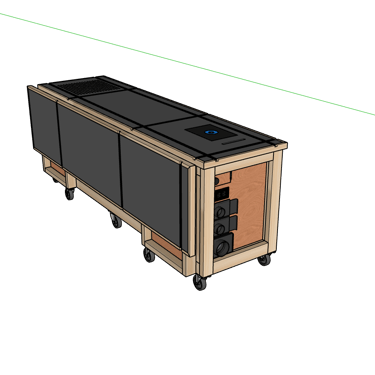
With that, I decided to learn how to use a design tool rather than using graph paper and went ahead with a design. This took me months and many iterations and lots of research, but I finally got to the point I was ready to build. Below are some angles of the conceptual workbench
The Design
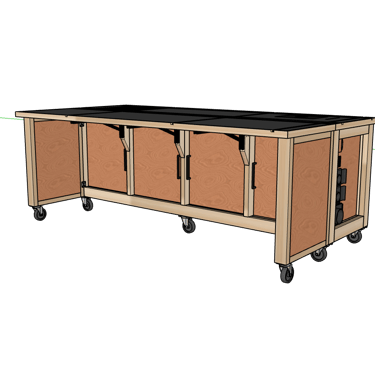
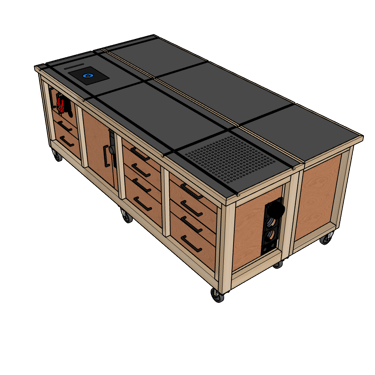
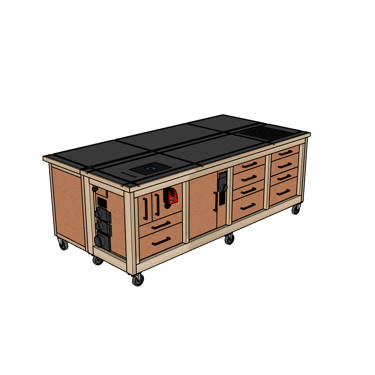
Instagram feed
The Requirements
For any design, you need to figure out what functionality you want. Here were the key requirements:
Large Assembly Area
Outfeed for the Table Saw
Built in Router Table
Dust Collection
Power
Mobile
Must fit in the garage with the cars parked
The Feature List
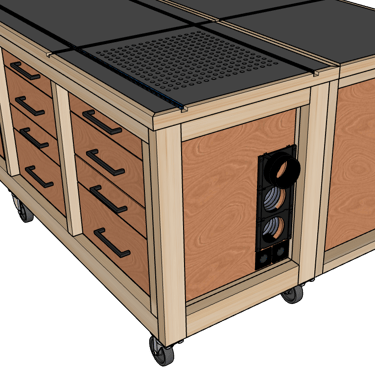
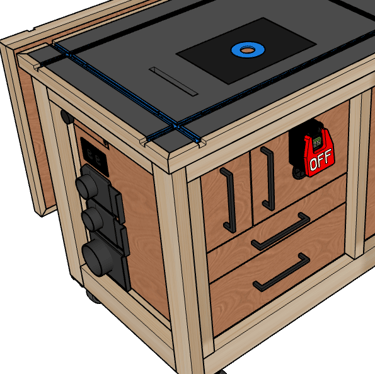
Requirements led to design and here is the list of the key features as a result:
2'x8' Rolling Workbench
Expandable to 4'x8' with ability to move while expanded
Built in Router Table
Router Fence Storage
Dust Collection Manifold for 3 stations throughout the Workbench
2 separate power lines throughout the Workbench
One line for "always on" power
One line for "automated" dust collection when tool turns on
T Track System
Sanding Downdraft Table
11 Drawers and 1 Cabinet


The Shopping List
As with any project, minimizing trips is critical (and which I was unsuccessful). I've created a dedicated page just for the links to all of the hardware that I used on this project in one easy place that can be found online. Of course, not everything can be bought on Amazon so a trip to your favorite box store is necessary. A full shopping list is provided in the instruction manual available on this website.

Cutting up the Wood
I want a nice looking bench. Not just a bare wood or stained bench. The old one didn't age well in my mind. I also wanted to teach myself how to joint a piece of wood. With that in mind, I squared up all the 2x4's to make it look more like the frame was made of a thicker piece.
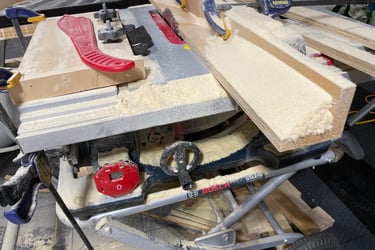
I don't have room for a jointer so I used the table saw method to replicate. I'd say it came out pretty good, but did make a mess. I rough cut most of the lumber and plywood to make things more manageable.


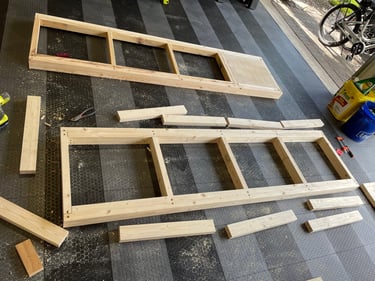
Building the Horizontal Frames
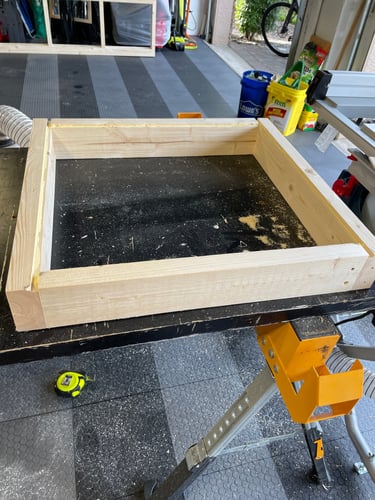
I started assembly with the Bottom and Top Frames. These aren't identical because of the sanding downdraft table. I used 2-1/2" nails, but looking back I should have gone with construction screws. On a project like this, when you nail one side, the other side starts to pop out.
For the Sanding Box, I routed the bottom edge of the frame for the 1/4" plywood floor to be attached.

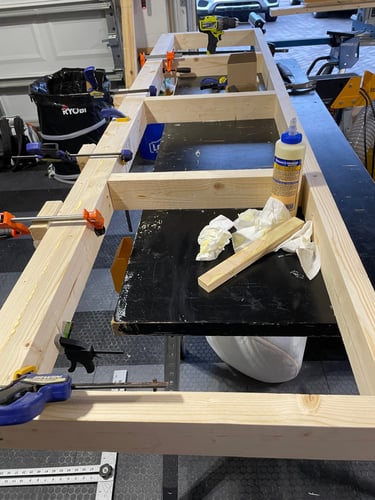
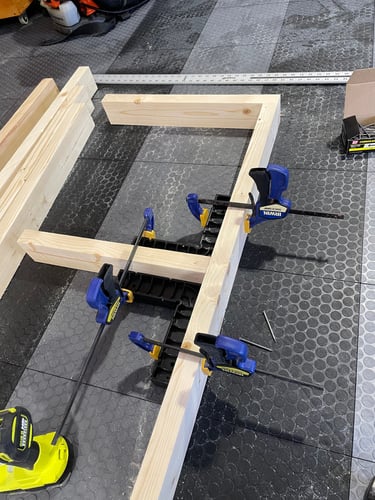
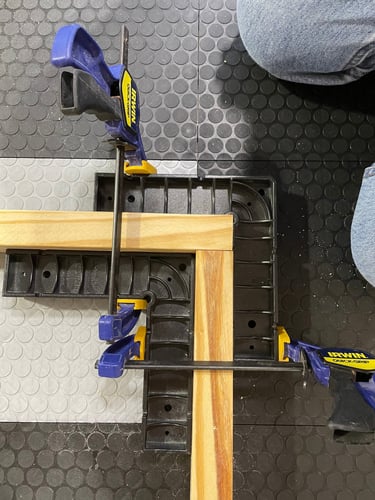
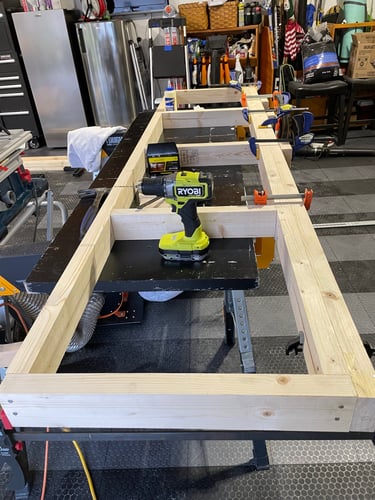


Vertical End Caps and Supports
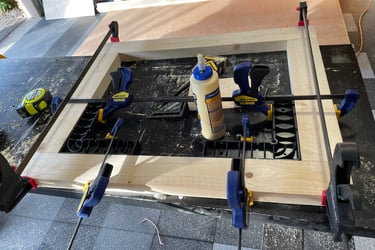
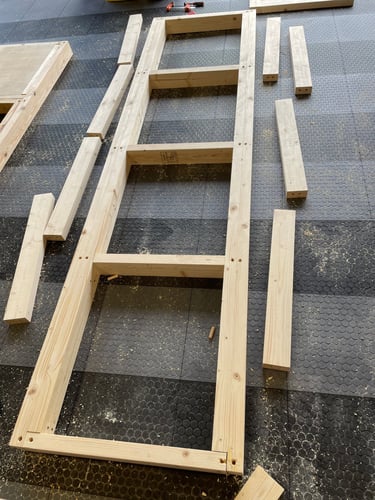
The end caps (or end frame) will provide a nice, fastener free look on each end of the workbench while also providing support from the caster up to the workbench top. I assembled these with dowels. This was my first ever attempt at using dowels and it was somewhat of a disaster. I just couldn't get the holes lined up perfectly so kept have to expand them a bit to get alignment meaning they weren't always as snug as those great Ikea products.
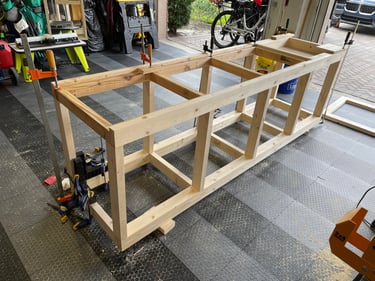
The vertical supports also needed dowels. It got a little better as I went, but not much. But, the dry fit lifted my spirits!



The Exoskeleton
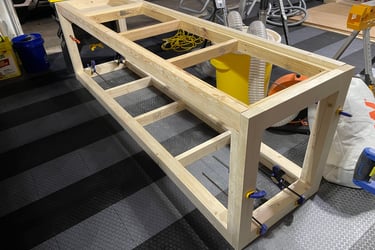
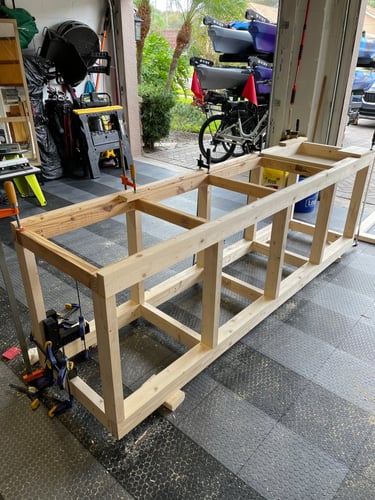
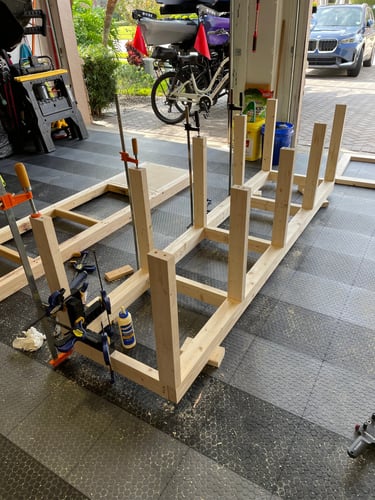
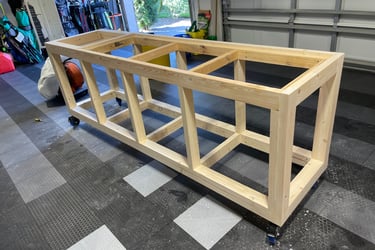
OK, it's really a skeleton, but exoskeleton sounds much cooler! There are 10 vertical supports, 5 in the front, 5 in the back. Each was sanded down with 80, 150 and 220 grit sandpaper. Then dowel holes were added to each end.
Each support was assigned a location 1-10 and labeled with the number. The number was also labeled in the matching location on both the bottom and top frames. Each support was also labeled with up/down arrows and front/back to make sure nothing went in the wrong place.
Holes were drilled in the top and bottom frames and the clamping began. The vertical end caps were glued, clamped and screwed into the frame as the final step. The exoskeleton is complete!




Mobility
This is going to be a rolling workbench and now that its starting to get heavy, its time to put wheels on this baby. These casters I got off of Amazon are great. They roll really easily and the fact that they lock, not just from spinning, but also from turning made them a good investment.


Slap on a Coat of Paint
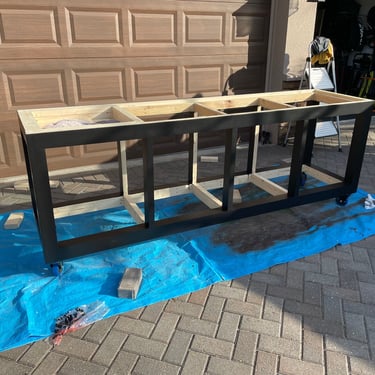
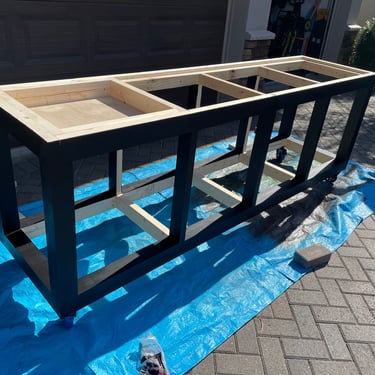
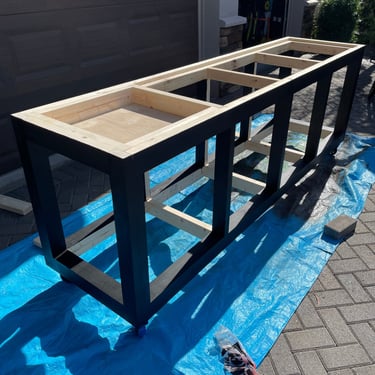
I decided early on that this was getting painted. I'm going with a theme in the garage. Right, wrong, or otherwise, this frame is going to be black!

That's it for part 1. Check out the full video below. Much more to come...


