
Display Case
Shot Glass Display Case
Overview of the buildup of a shot glass display case.
HOME IMPROVEMENTSSMALL PROJECTS
I have been collecting shot glasses for many years. However, we have moved twice in the last 10 years and they have been wrapped up in a box in all that time. Every time I got a new one, it went into the box. So as a Father's Day present to myself, I decided to build myself a case. I had already decided on a place in my office to hang it, but I could find a case that I liked so I got down the shot glasses, counted them up, and did some quick calculations based on size to determine how much shelf space I needed.
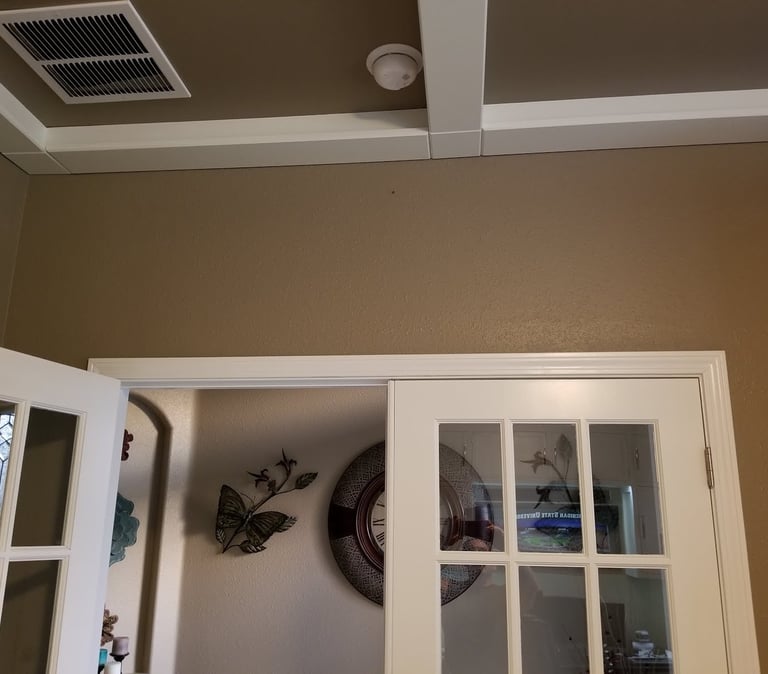

Here is a break down of the materials for the project (found at your local box store):
(1) 1" x 3" x 8' pine board
(2) 1" x 3" x 6' pine board
(8) 1/4" x 2-1/2" x 24" poplar shelf board
(3) 24" x 36" aluminum flashing
(3) 30" x 36" optix acrylic
1/2" x 1/2" square molding (cut to size)
3/4" x 1/2" rectangle molding (cut to size)
Kregg Jig screws and plugs
Wire Nails
Guerilla Glue
Wood Glue
(32) Rare Earth Magnets (Amazon)
This whole project cost less than $75 (I had leftover paint from the office).
I built the frame with pocket hole screws and a router with a 1/4" bit at 1/4" depth to make recess for the shelves. I chose to make smaller areas on the outside to house taller glasses that won't fit in the middle areas. Due to where it was going, I was limited in the space I had.
The doors are made out of molding, no screws or nails, just glue and clamps. I used a 1/2" router bit to rabbit the inside edge to create a recess for the acrylic to sit in. I also decided that since mirrors are expensive and break easily to use aluminum flashing for the backing. A small bit and some wire nails secure it onto the frame.
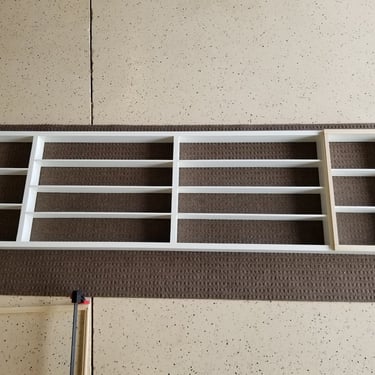
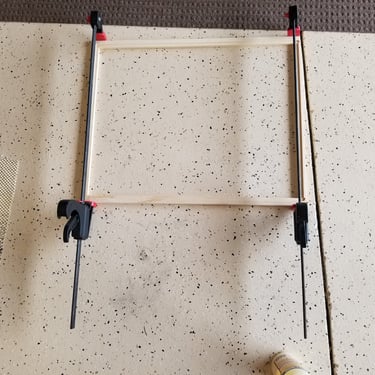
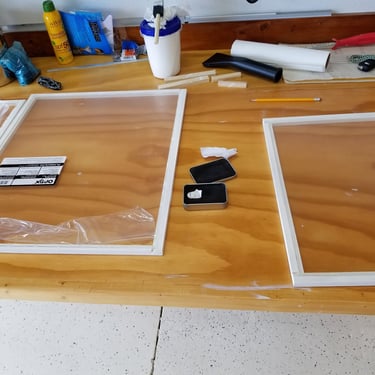
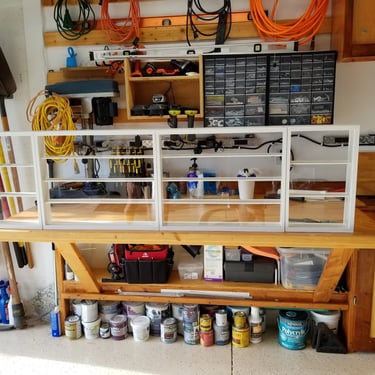
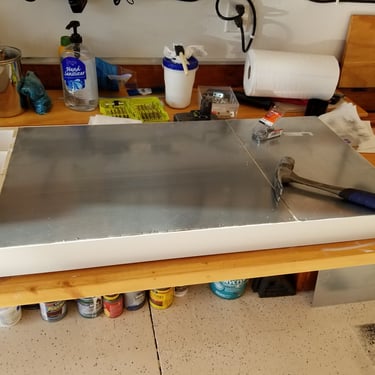
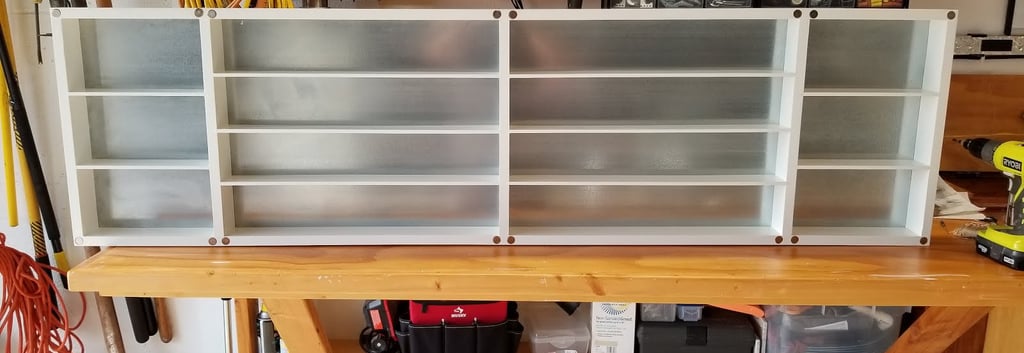

Rare earth magnets and guerrilla glue were used to secure the doors which makes it easy to take them on and off as needed. I used a flat drill bit for the magnet holes and on the doors and 3M double sided tape that came with the magnets to secure them.
The final product is already full and I'm told that I can't build another one.
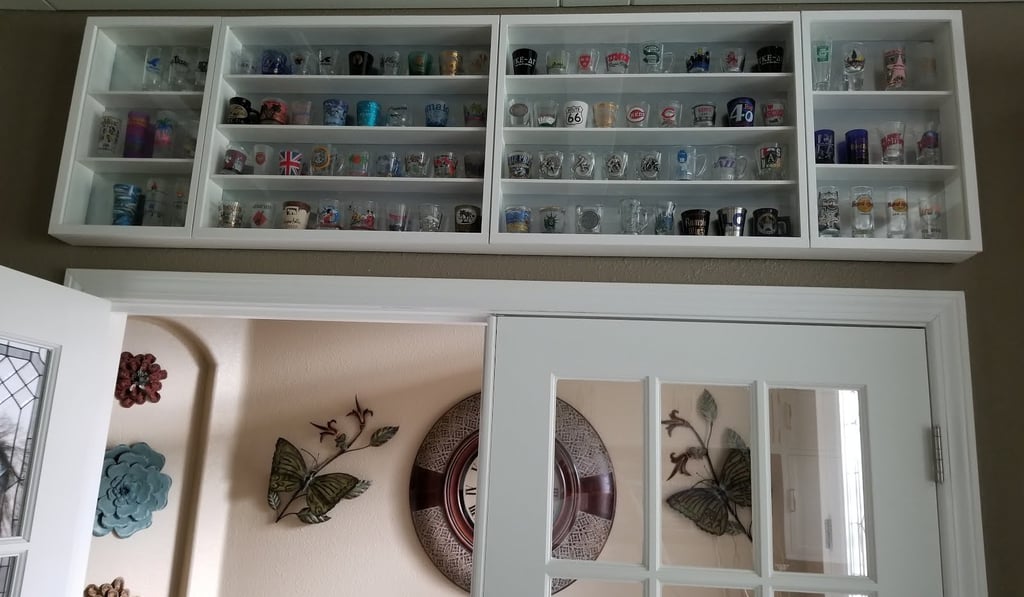

Update 6/16/20
The 3M tape didn't hold up!!! One day I was sitting in the office and one of the doors crashed down. Thankfully it was a clean break and a little wood glue solved that. I ended up having to use gorilla glue to secure the magnets. In addition, I bought 2 extra 1/4" x 3-1/2" x 24" poplar shelf boards, glue and painted them to the bottom of the cabinet so that the doors can rest on them without worrying about falling!
Update 3/19/23
The modification to hold the doors on has held up for almost 3 years now with no issue. I have been able to squeeze a few more glasses into the case, but there may be a version 2 in my future...


