Fish Tank
In Wall Fish Tank Build
Building a Fish Tank into the wall as a picture frame
FISH TANKS
After the move in August and getting settled into the new house, it was time to take on the In-Wall Fish Tank Build. This was a dream of mine and the house was partially selected for the ability to do this project.
The fish lived in a temporary 75 gallon aquarium for about 5 months while we settled into the house and new job before I had time to attack this one.
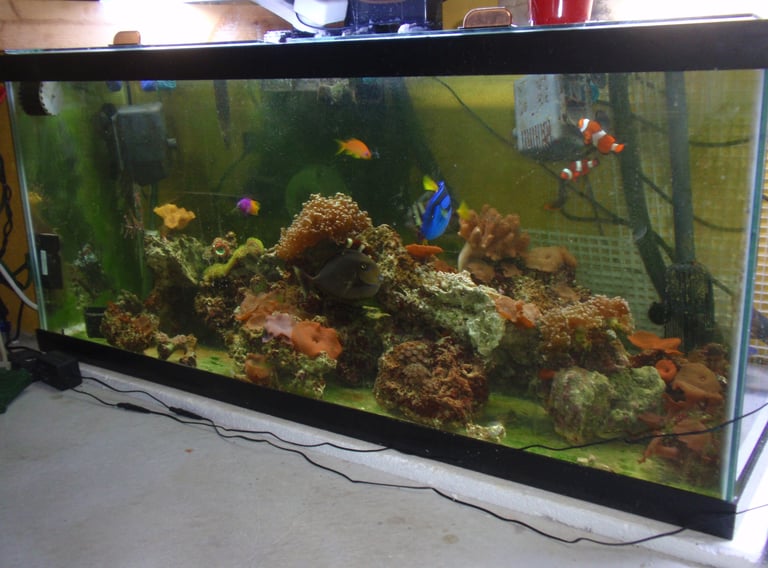

The location is in the basement. The setup had a perfect wall that backed into a storage area where the water heater and air conditioner fan are. This would allow me to have a seating area to view the tank like a picture frame while access in the back was "behind the scenes" and in an area where a little salt water on the floor isn't going to cause marital issues. We call this the fish room now.
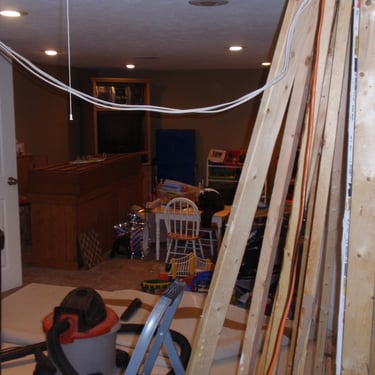
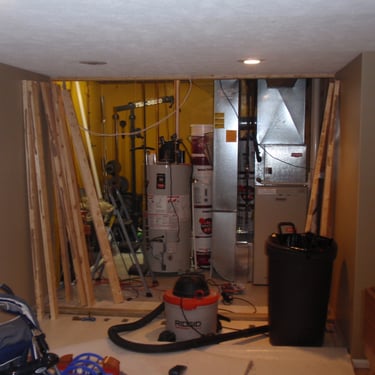
I originally created a design to build the tank right into the existing wall. However, after actually laying it out, the tank would be a little too close to the water heater for my liking so after some moaning and groaning, I ended up have to move the entire wall. This is the wall getting prepped for demolition. I needed to move that outlet anyway...
Layout
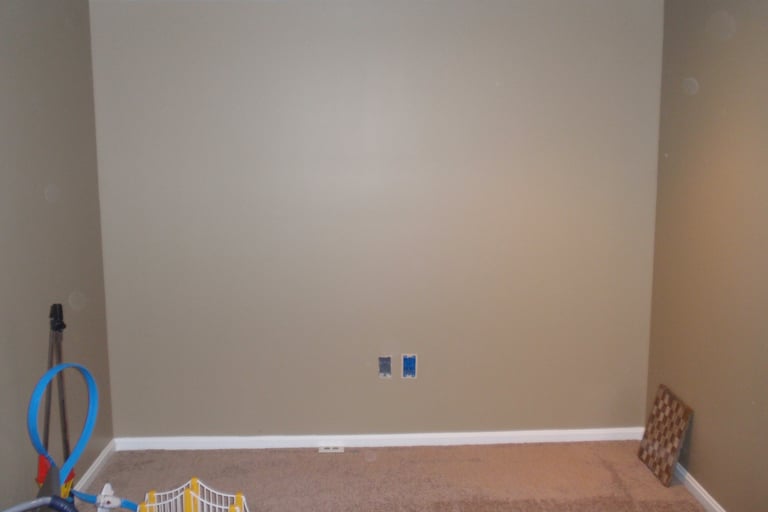

Demolition
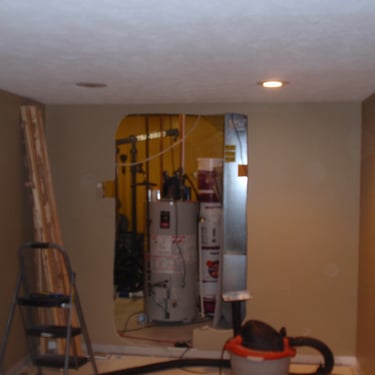
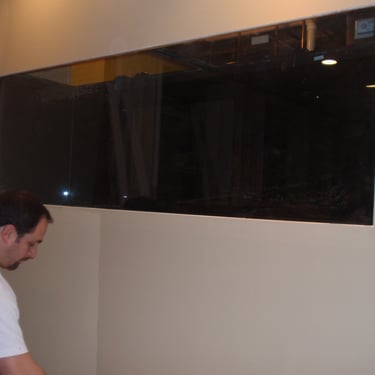
One main difference in the designs when I went with rebuilding the wall was to make the tank higher so it looks more like a picture on the wall. This also had an impact because I had to be able to reach into the bottom of the tank regularly so I needed a platform back there as well that I could stand on. The back of the wall was exposed to the storage area. I pull out the insulation to see what I was dealing with. You can also see that I already moved the electric outlet out of the way. When I cut the hole in the wall (where you can see how close the water heater is), it prompted my 4 year old son to run and tell my wife, "Mom! Look what Dad did!". Although she knew I was working on it, it still freaked her out to see a hole in the wall. Then you can see the whole wall gone and the view from both sides!
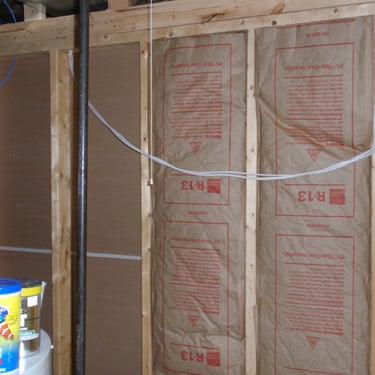
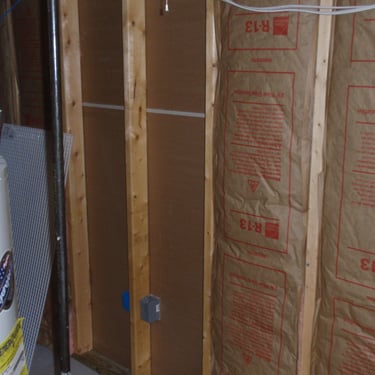
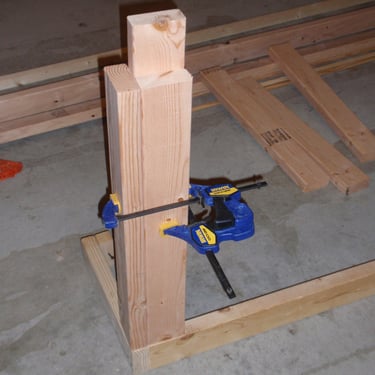
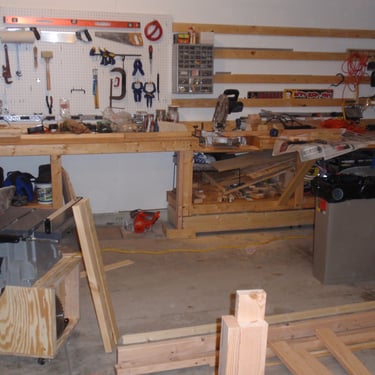
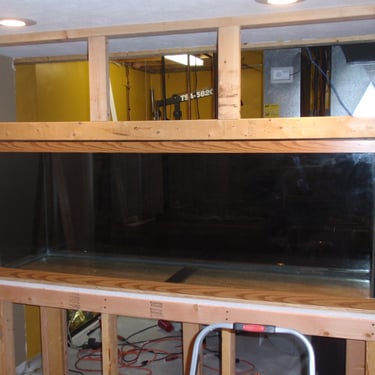
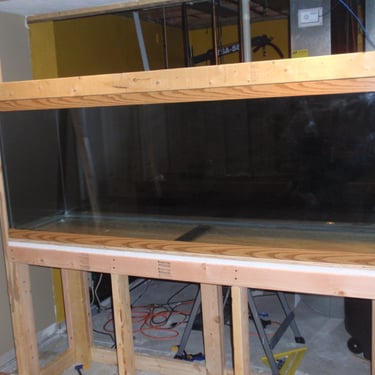
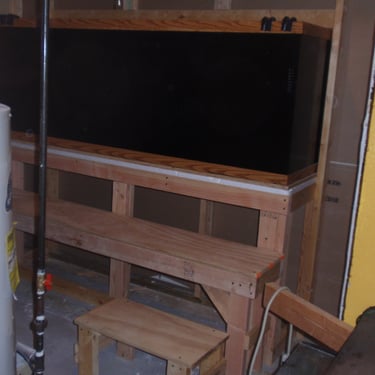
Out at the workbench, I build out the structure for the base of the tank. Basically, its a bunch of cut 2x4's. For the rear legs, I nailed together 3 of the 2x4 sections to create a 5"x3" support. The inner 2x4 support is cut longer to secure it to the cross brace on the floor and the cross brace under the tank. The tank cross brace sits on top of the shorter 2x4 leg supports to provide a ton of weight support. The front legs actually attach to the vertical 2x4's that support the wall so had to get a little creative here. Compared to the stands that you can buy pre-built at the store, this should be able to hold up no problem. I painted the back and sides of the 150 gallon tank black so you can't see through it into the storage area and used a piece of 3/4" plywood on top of 1" Styrofoam. The foam allows the tank to settle in case the floor (or my craftsmanship) is not level as both pieces are "floating" on the stand.
Construction
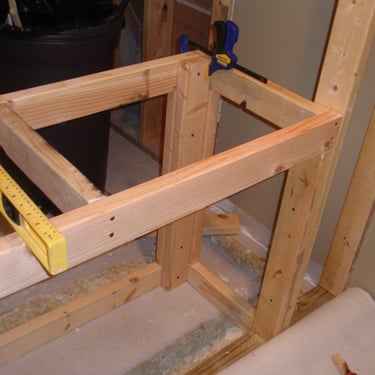
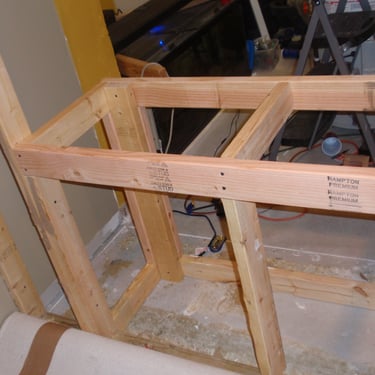
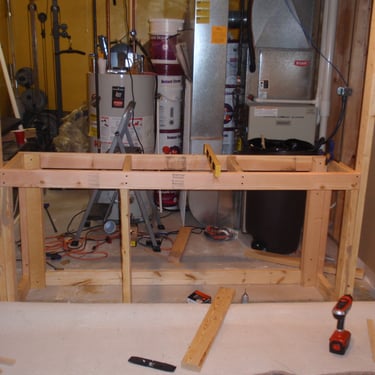
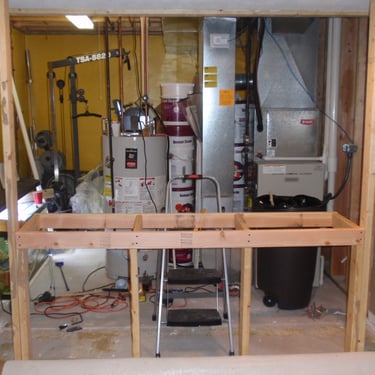
Dry Wall
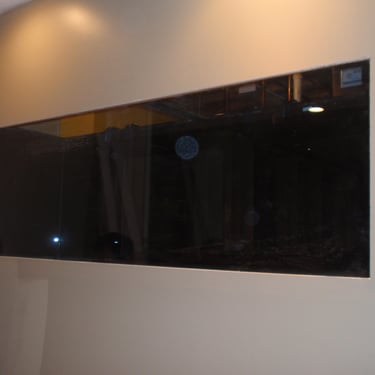
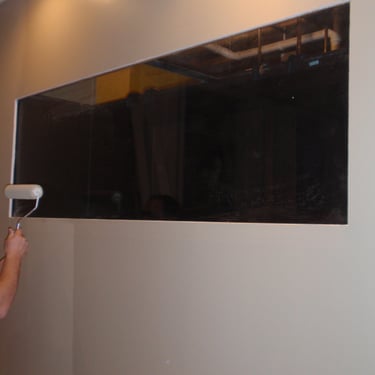
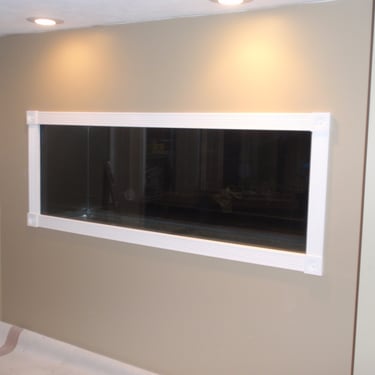
My least favorite thing to do and something I will not claim expertise at is dry wall. It came out OK, but not thrilled with my work here. Part of the issue (and you can see in the pictures) is that I ended up putting the drywall in horizontally rather than vertically and as you can see from behind the wall, I didn't have a cross piece to support it so when I tried to finish it, it cracks formed. I ended up adding a 2x4 cross piece afterwards. I chalk it up to inexperience but was really a short section in the wall and why I chose to do it this way. Doing it again, I would have installed it vertically and made sure my studs were appropriately spaced. I painted the wall and then put on some molding to make the picture frame look.
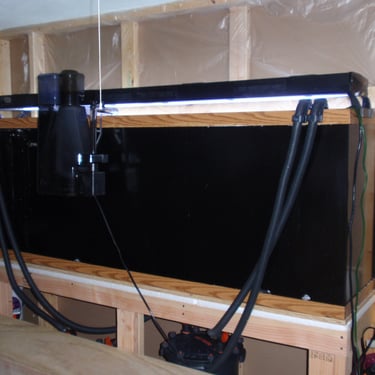
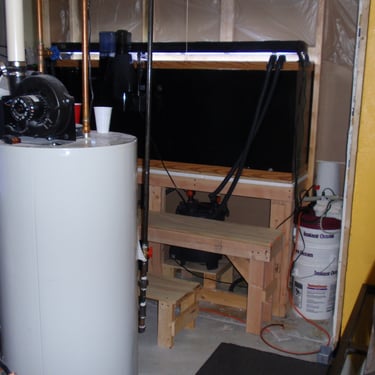
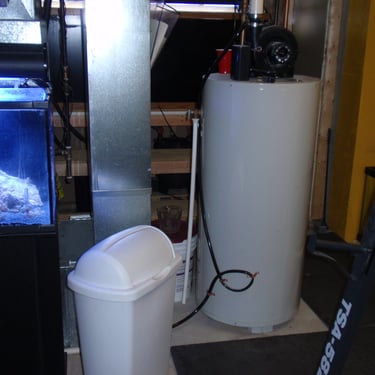
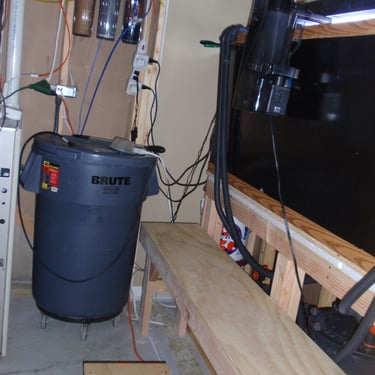
I also built the platform and step up in the back to be able to access the tank. Neither are attached (the platform is secured) so that I can easily move them out of the way to access beneath the tank where I put the filter system (2 Fluval FX5 filters). I also hooked up the protein skimmer on the back and added the fluorescent lights.
You can see that I added some plastic sheeting above the tank, stapling it in. I figured this would help protect and water getting splashed on the back of the dry wall. I did move that electric outlet up and over the tank, out of the way.
You can also see the "nemo" tank that I have to make nemo babies and the reverse osmosis system with the pre-made water used for water changes.
Finished
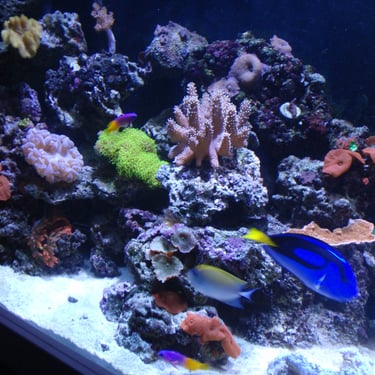
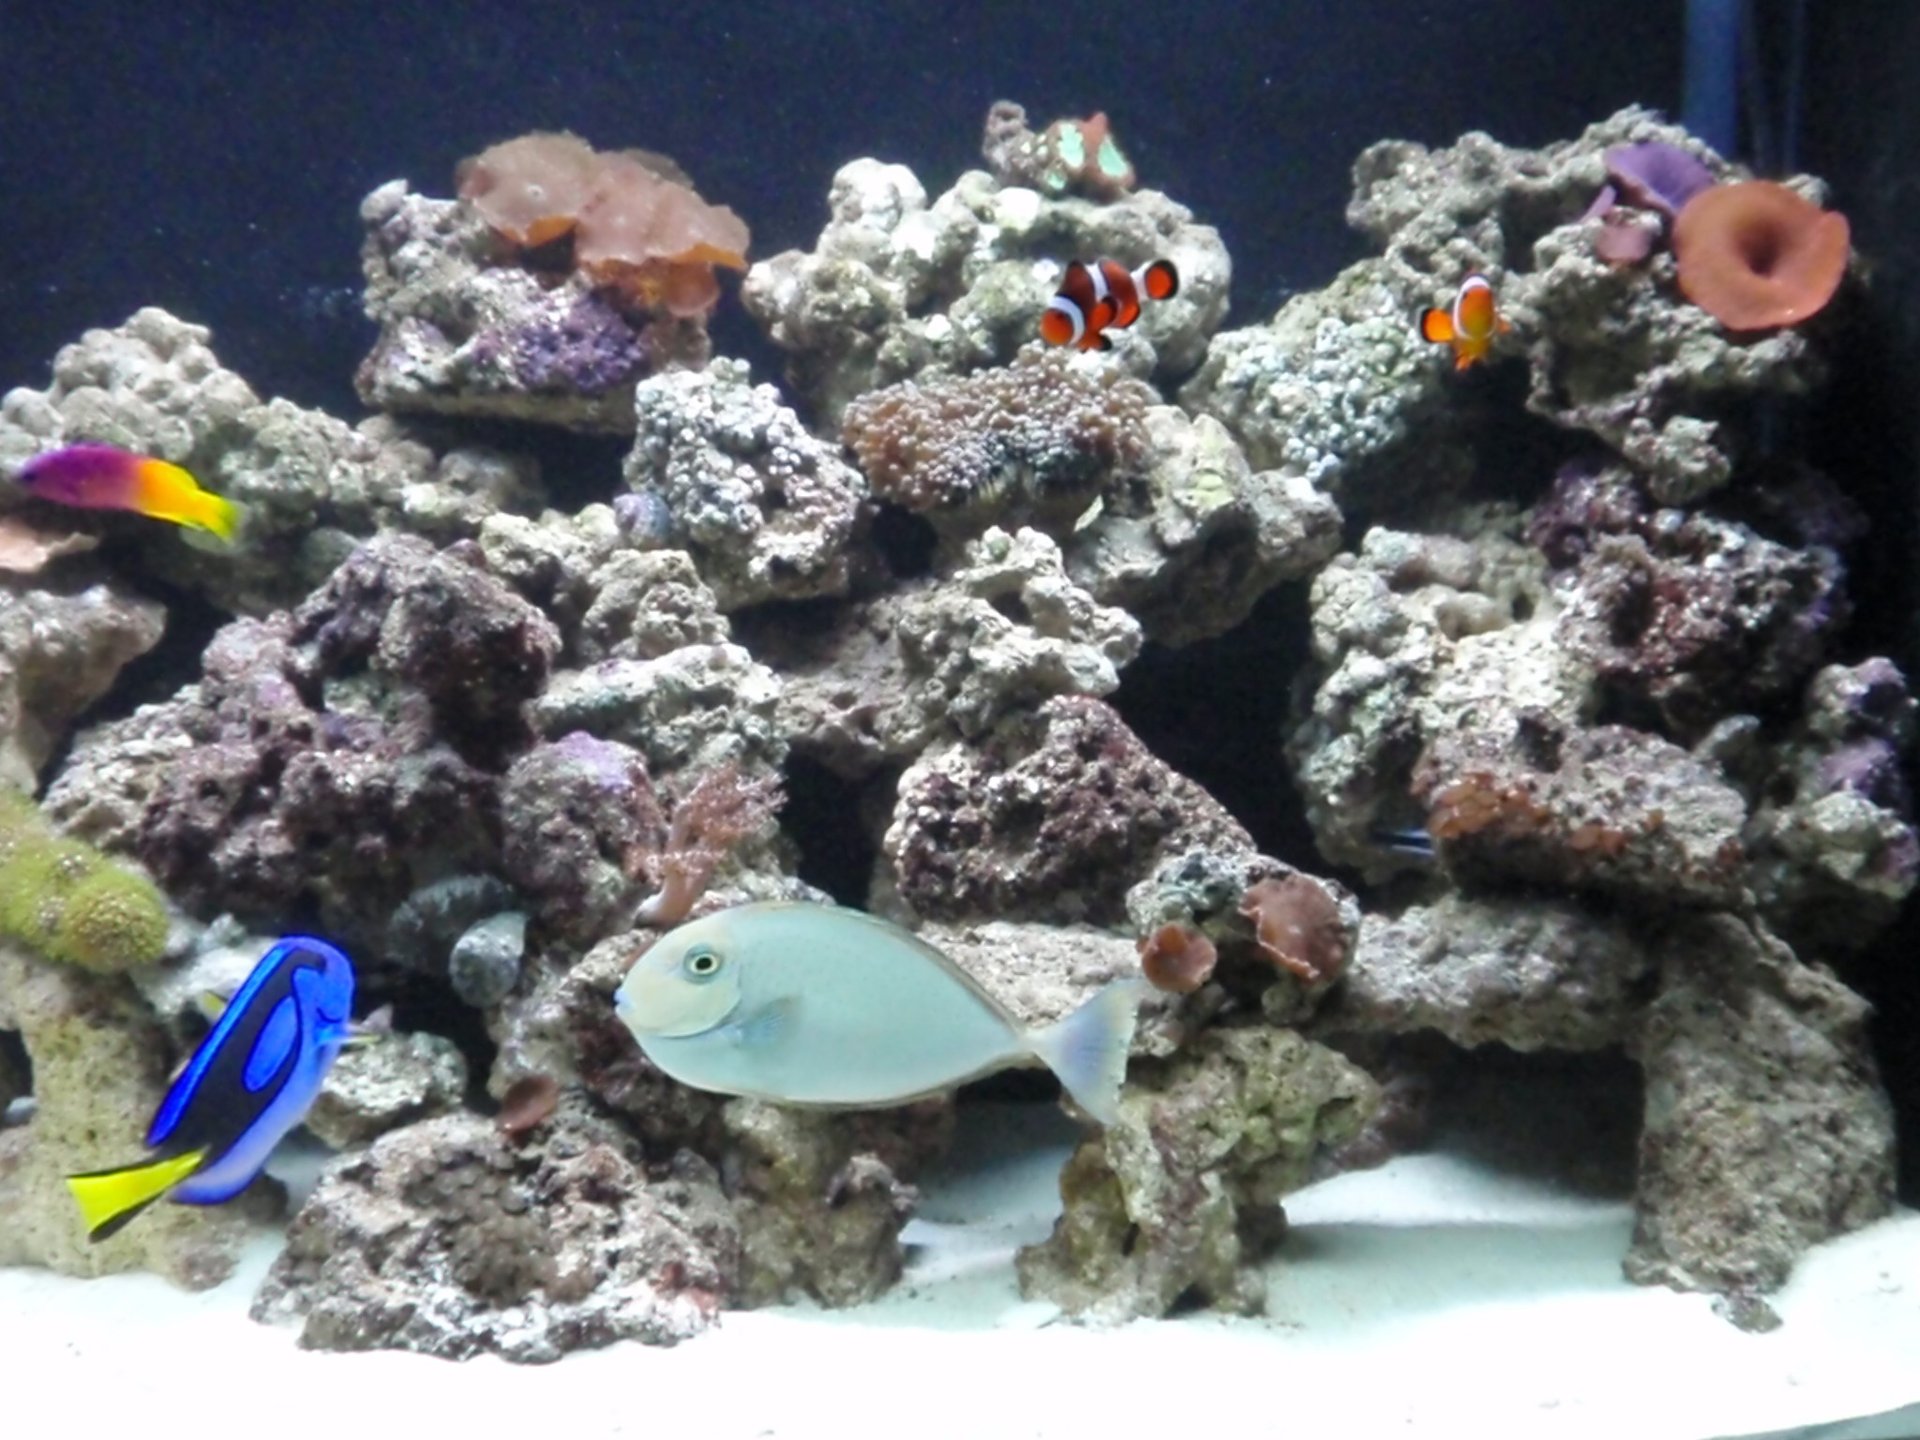
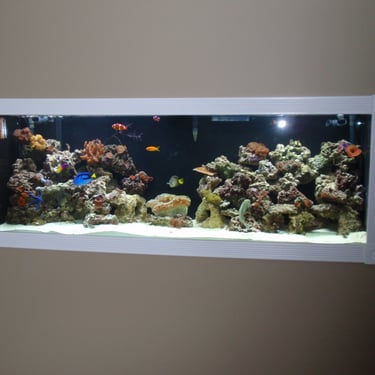
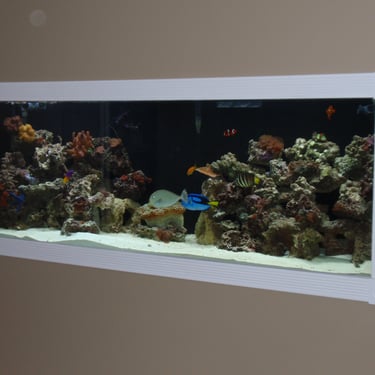
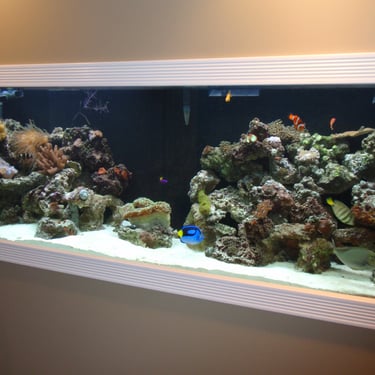
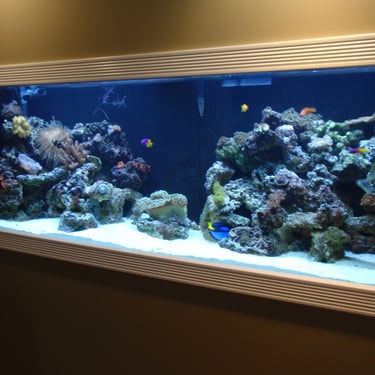
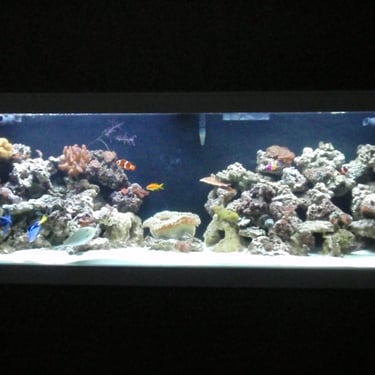
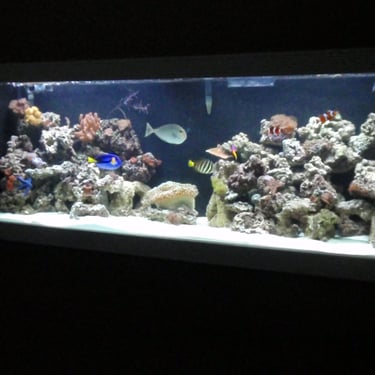
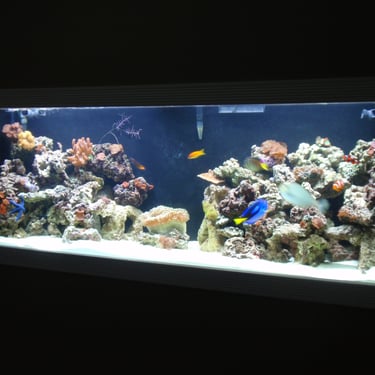
The final steps included adding sand, water and live rock and letting it settle before I got all the fish and corals in place. Overall, this was a great learning experience and pretty happy with how it turned out.


The Residents
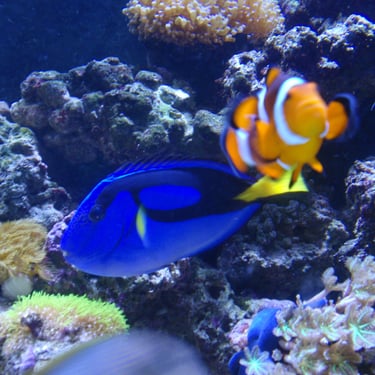
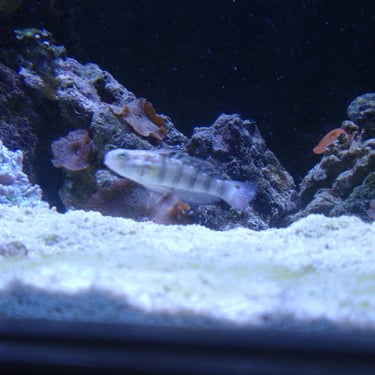
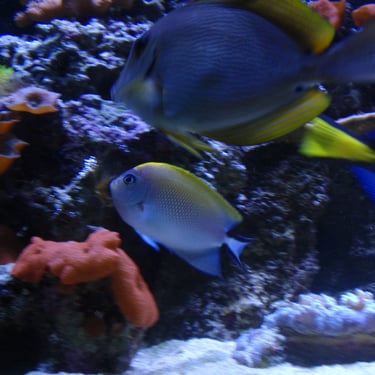
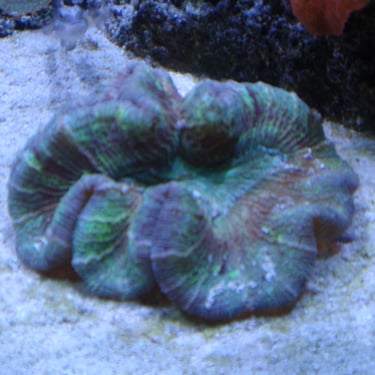
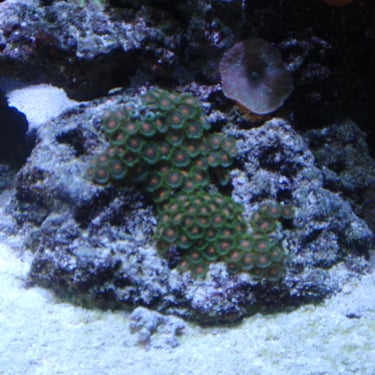
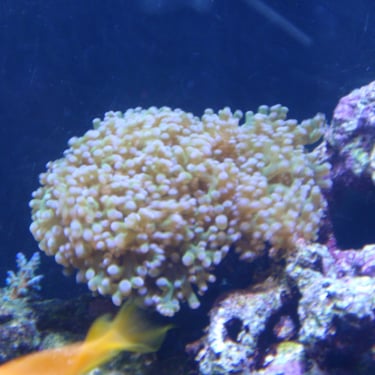
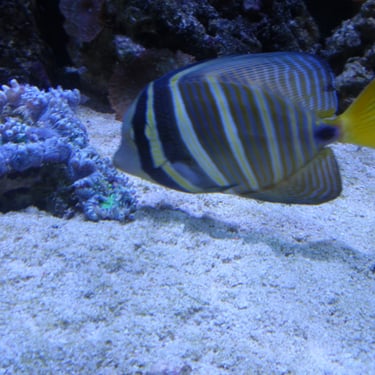
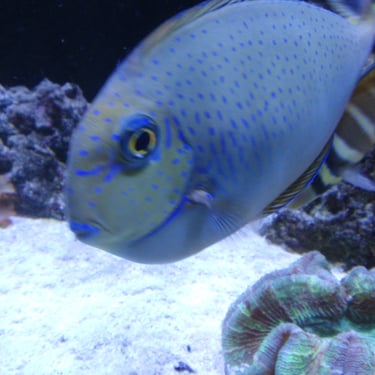
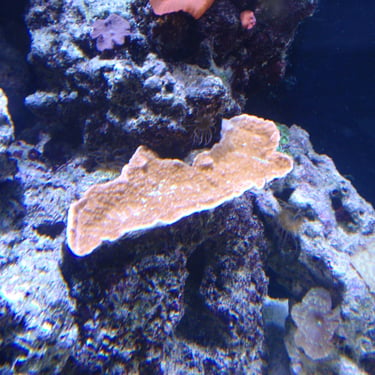
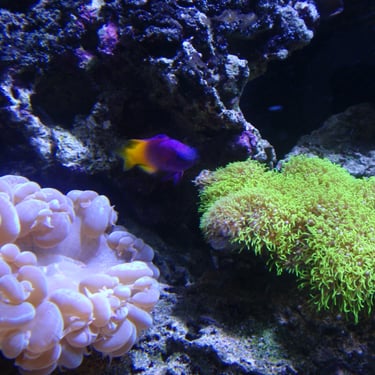
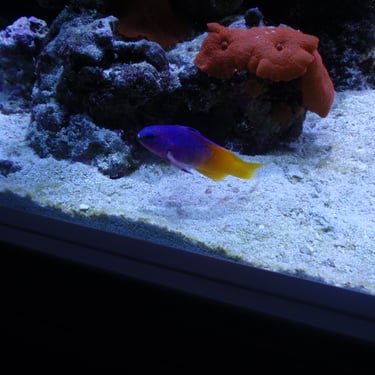
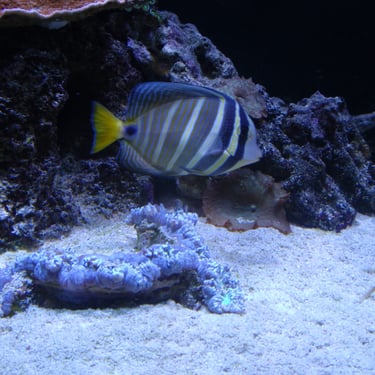
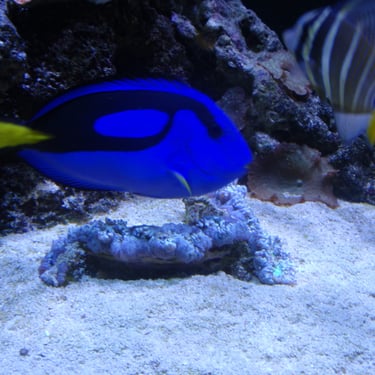
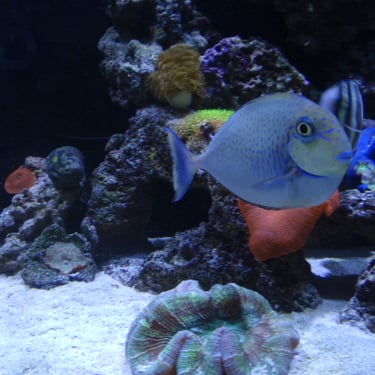
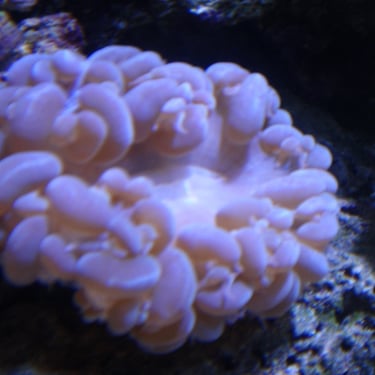
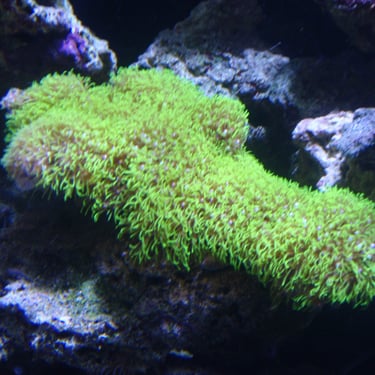
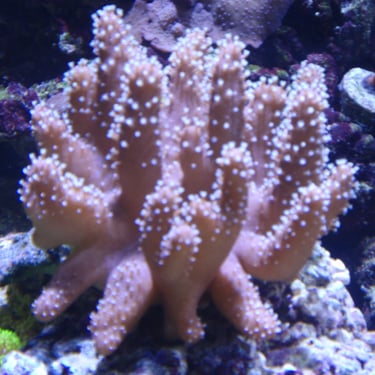
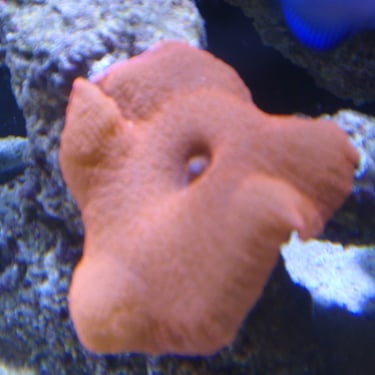
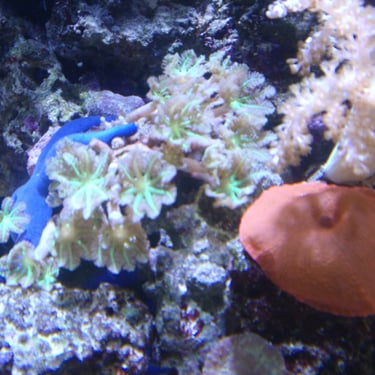
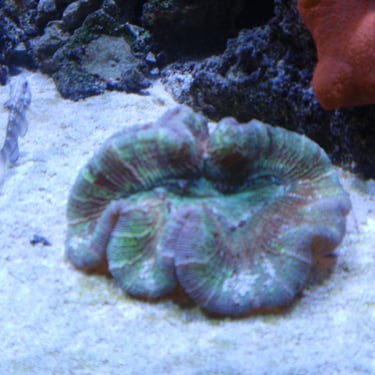
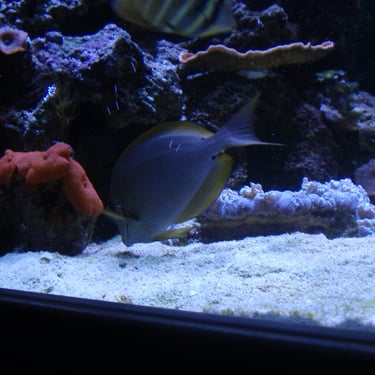
Can't talk about building a fish tank without showing off the residents. Here are some glamour shots of the happy new inhabitants.
