
DIY Folding Trailer
Folding Kayak Trailer
Build a folding kayak trailer
REVIEWSLARGE PROJECTS
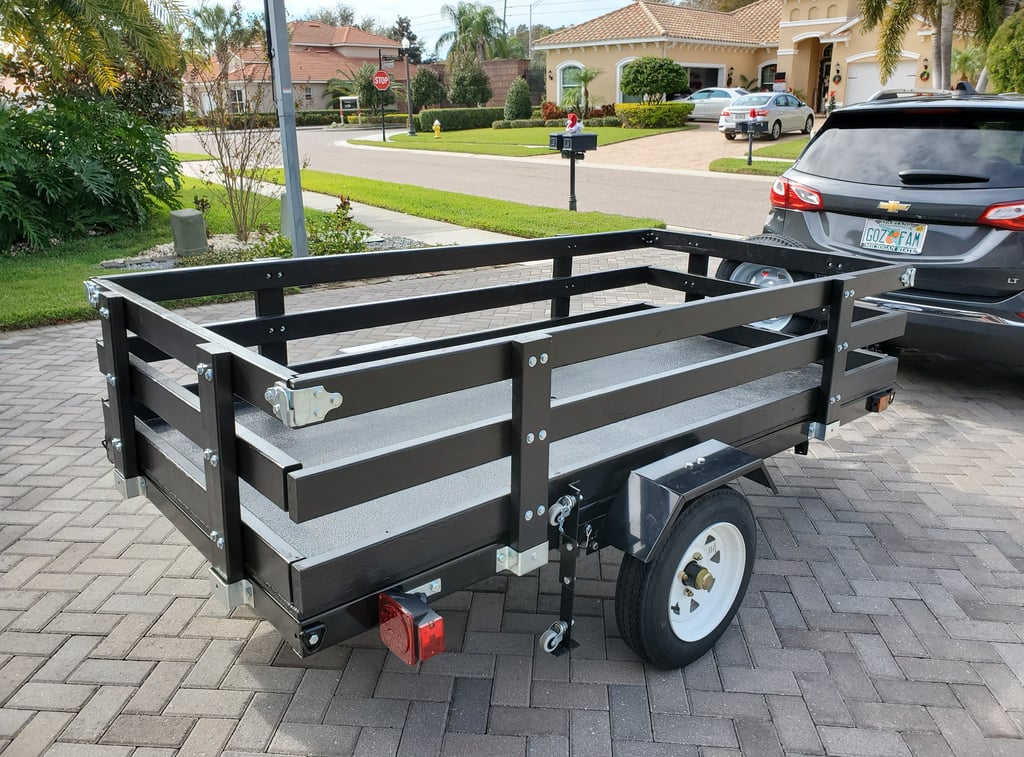
We ordered 2 new kayaks and needed a way to transport them. We have a 3rd car garage but didn't really want the trailer taking up the whole garage 100% of the time. So the concept of a folding trailer was very enticing. Plus having a trailer that wasn't just for kayaks meant having the ability to transport more than just kayaks. Harbor Freight offers one but they haven't had in stock for years. Northern Tools ended up having one from Ironton. It is a 4'x8' folding trailer kit. This was perfect for my plans...

The trailer kit comes in 3 boxes along with a title. As you can see, this is truly a DIY project.
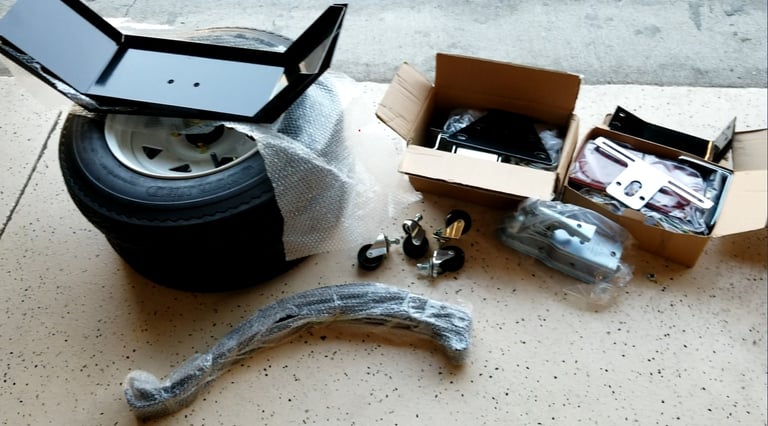

Unboxing
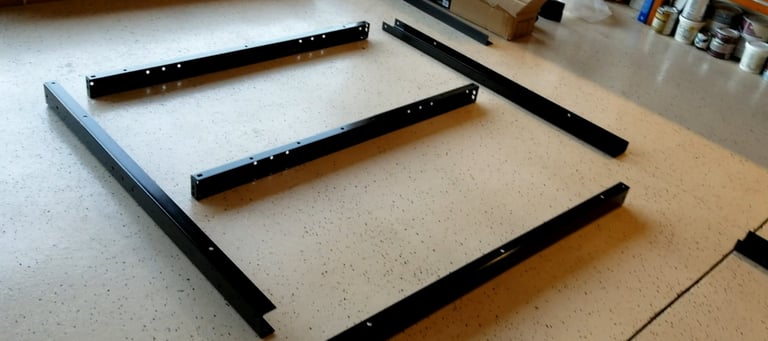

Assembly Required
The first task was to assemble the frame out of the kit. There were some items that came in the kit that I ended up replacing.
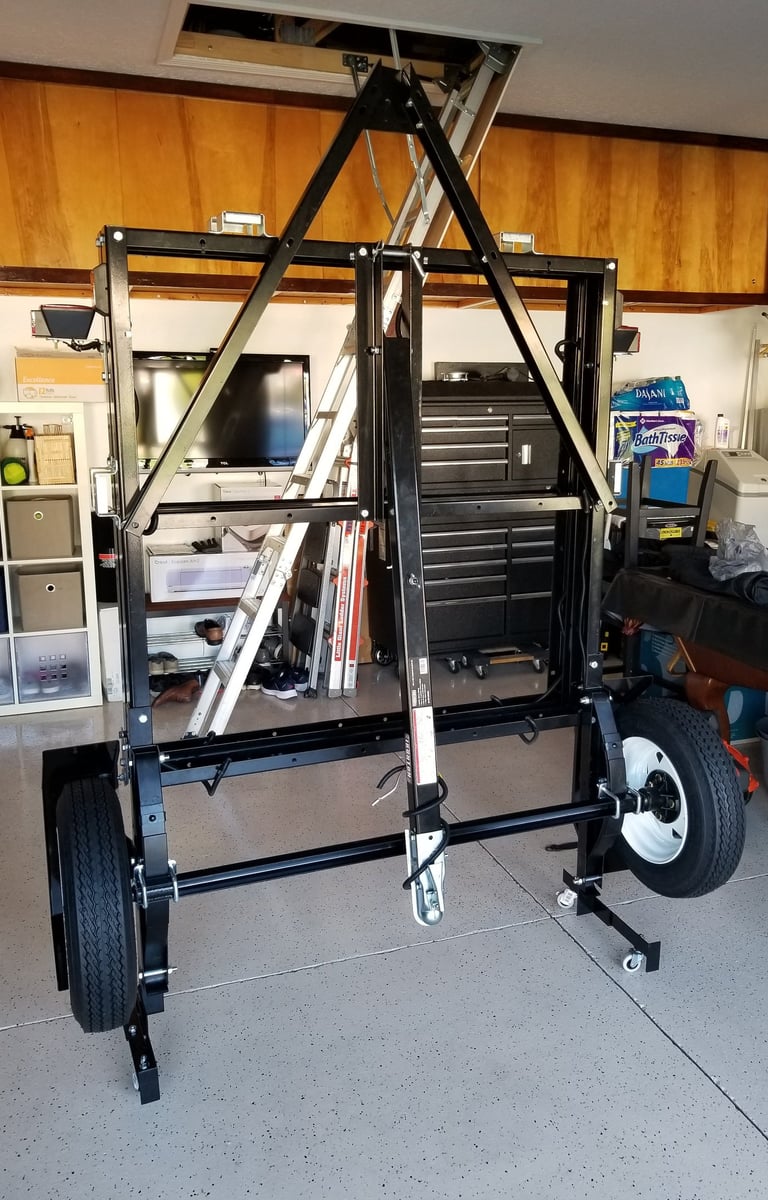

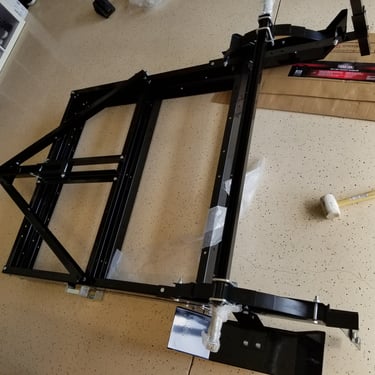
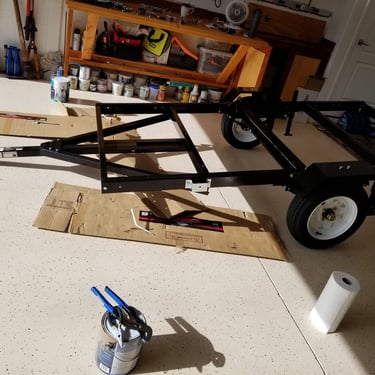
The casters that are used when the trailer is in the folded position were very cheap and difficult to attach. I replaced these to make life easier on the installation. I also used coupler pins instead of the included bolts to secure it when it is in the unfolded position. It is important to note that the included tires are rated for 55 mph. There are upgrades that are rated for 65 mph that I will eventually put on the trailer.
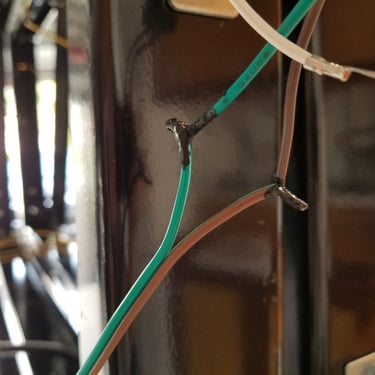
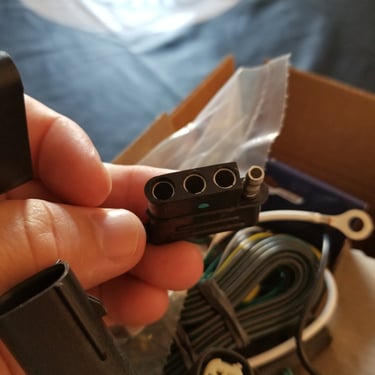
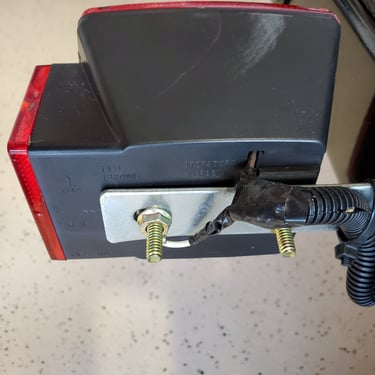
The trailer comes with tail lights and side running lights. The wiring diagram was not very helpful. You also have to purchase the connector to match up with your vehicle. One does not come with the trailer. I also picked up some black plastic wire protection to keep the wires from getting damaged from anything kicked up from the road. For all of the connections, I used liquid electrical tape and heat shrink wrap.
Wiring
Flooring
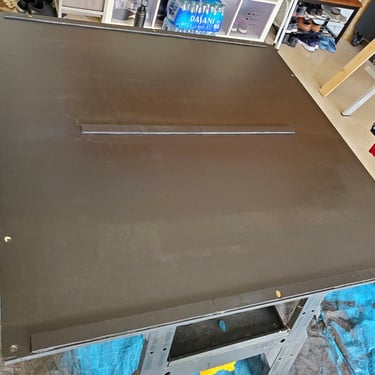
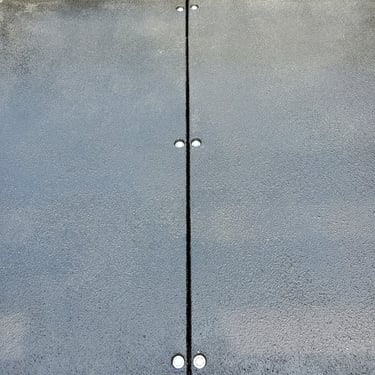
The Ironton trailer doesn't come with a floor. I went and pick up a 3/4 inch 4'x8' sheet of plywood and ripped it in half. This fit perfectly. Because of the design of the frame, when the plywood is in place, there is a small gap down the middle of the trailer between the floor and the frame. I glued down 1/4 inch strips of plywood in those spots to keep the floor from sagging under any weight. The underside was then painted black and the topside got a few coats of Herculiner Truck Bed Paint. Finally, I added a few heavy duty tie downs to the frame. I also added a wheel for the trailer tongue. Later, I added a second one to handle the weight. With one wheel, the trailer would list to one side with all the weight.
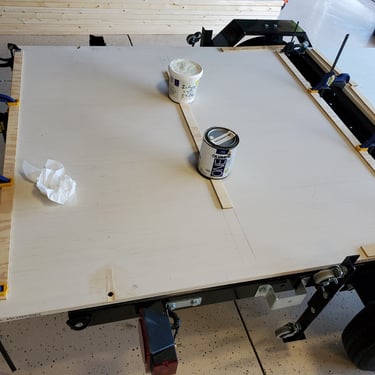
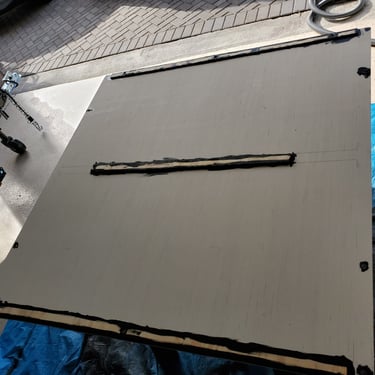
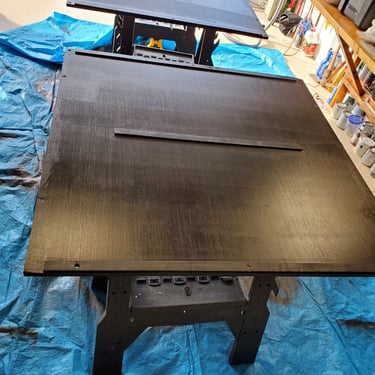
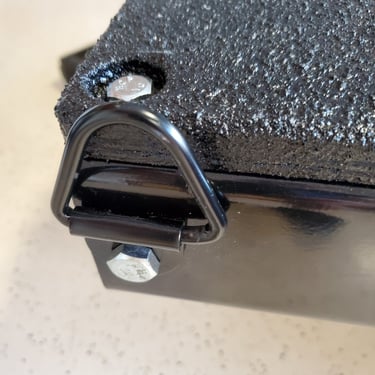
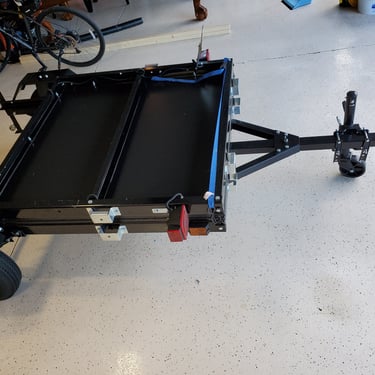
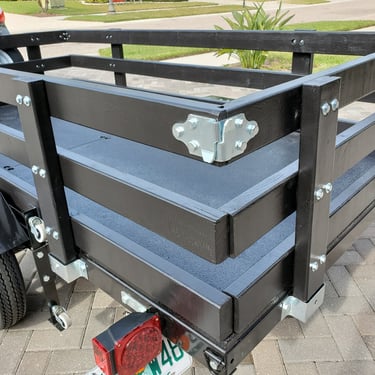
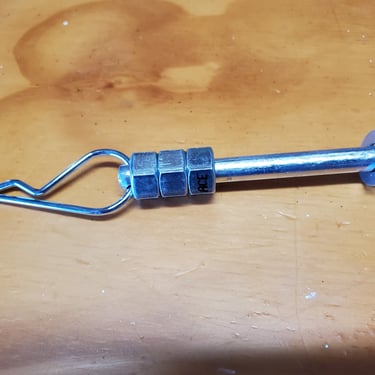
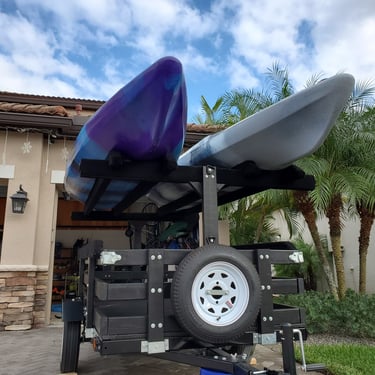
Next up were the side walls. I needed something that would handle the weight of the kayaks (75 lbs a piece). So I went with 2x4's. I assembled them with through bolts, but later went back and added some lag bolts. I recommend the lag bolts to keep it from shifting. The whole thing was painted with the same black paint as the underside of the flooring. The corner connectors were a clutch purchase. I used clevis pins to secure the sides to trailer and a U-hook to attach a spare tire.
Side Walls
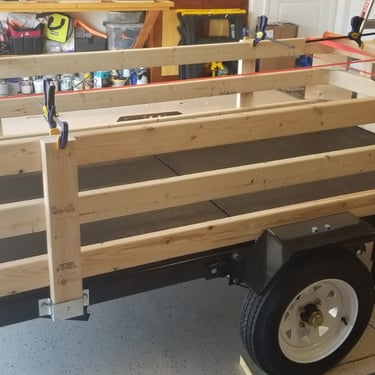
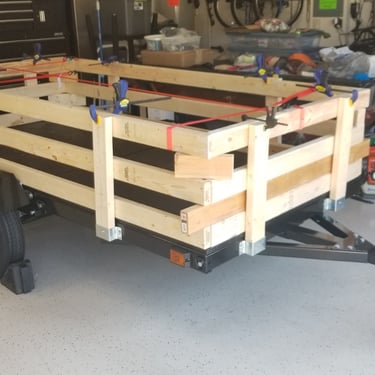
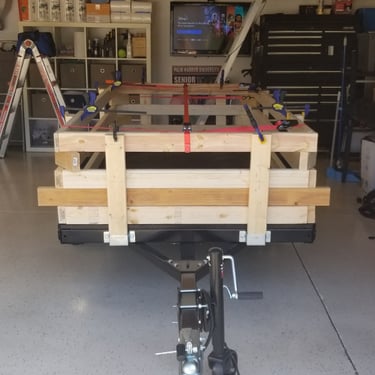
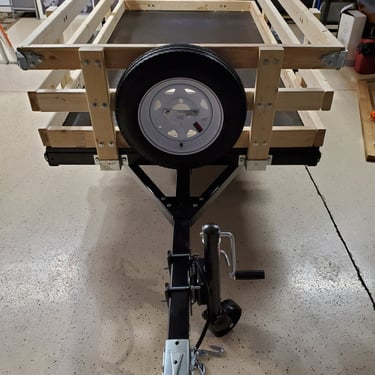

Finalizing the Trailer
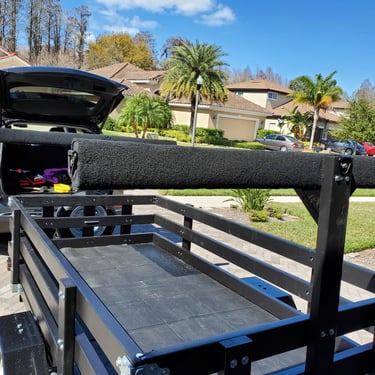
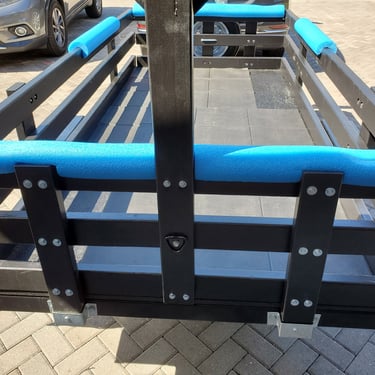
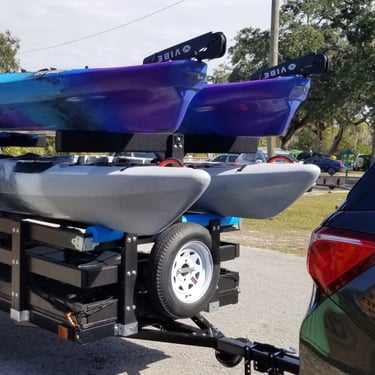
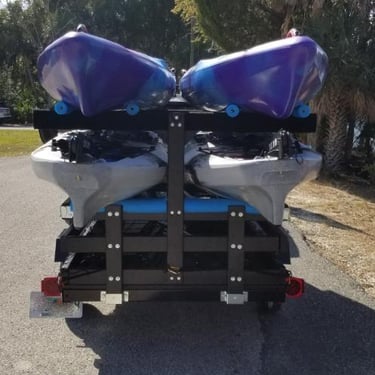
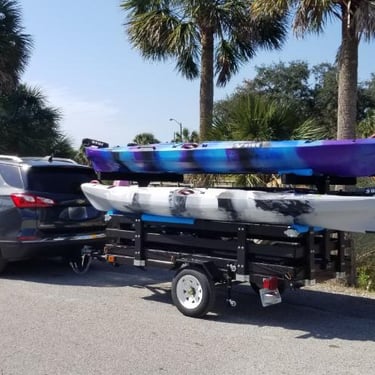
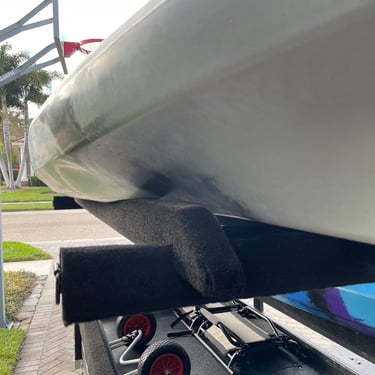
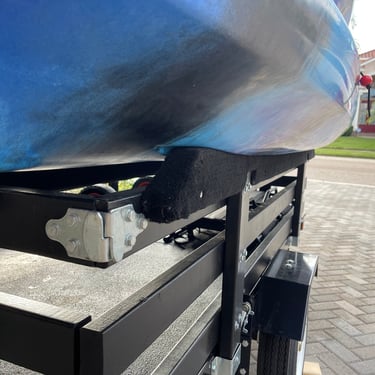
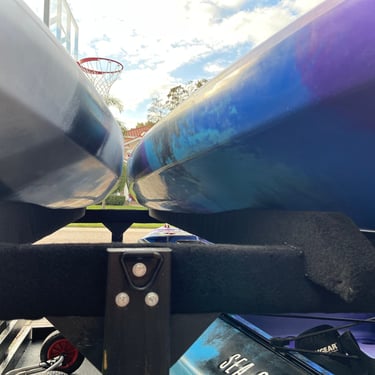
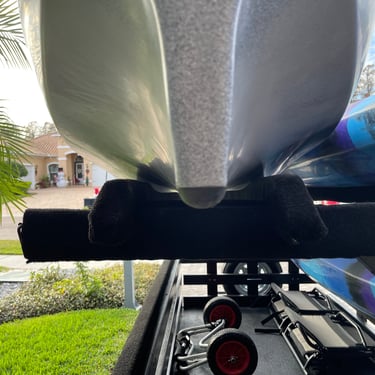
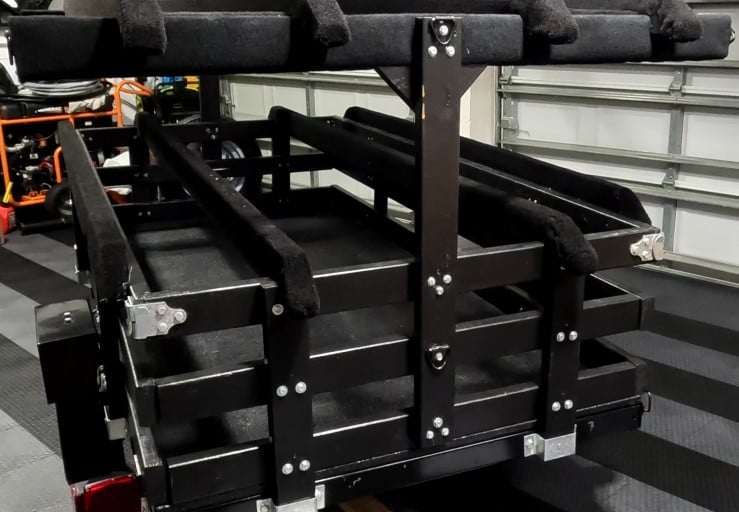
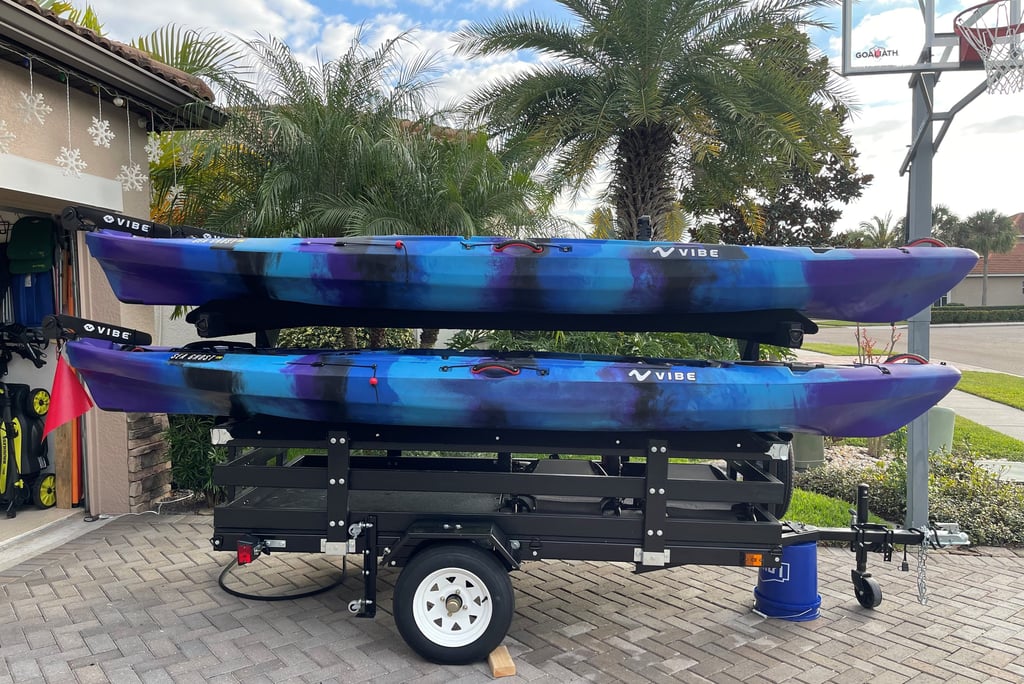
When the trailer was first "finished" it was ready for 2 kayaks. Unfortunately for me, we ended up with 4 kayaks. That meant modification was needed to the trailer. I went with a second tier. At first, I created a carpeted cross bar, but even with the carpet, it wasn't that easy getting them on and off. Plus the lower bunk didn't have carpet. We were using blue noodle floats to protect the bottom of the kayaks. So I went the extra mile and created carpeted sleds for the kayaks. This allowed them to slide really easily on and off. The sleds are also removable so I can take them off if I need to transport other things.


Check out the video that walks through the build out of the trailer


