
Fleximounts Garage Lift GL1 Review
Fleximounts Garage Lift
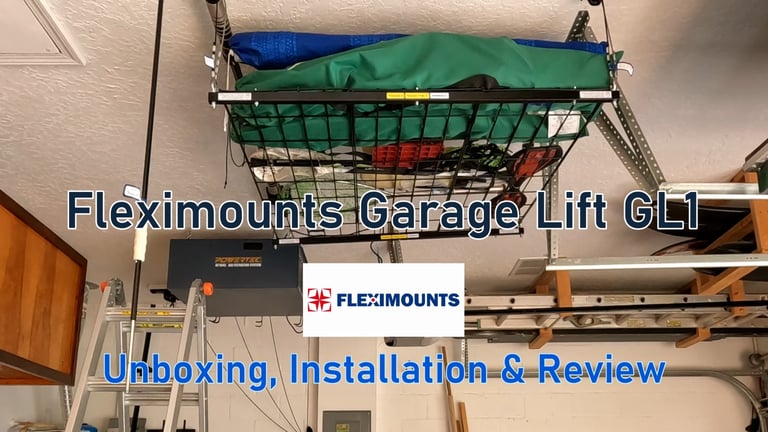
This Unboxing, Installation and Review of the Fleximounts GL1 Garage Lift Storage System shows you a great way to increase your storage while keeping your garage floor free
SMALL PROJECTSHOME IMPROVEMENTSREVIEWSWORKSHOPS
Gary Goz
10/6/20244 min read
A long time ago a neighbor had this great ceiling mounted system that he put his lawn mower on and lifted up to the ceiling. I was pretty envious of him at the time. Well, now I have one too (I don't put my lawn mower on it).
I picked up the Fleximounts GL1 (Garage Lift) system and will go over what's included, the installation and what I think of it.
Check out the full review and installation in the YouTube video below.

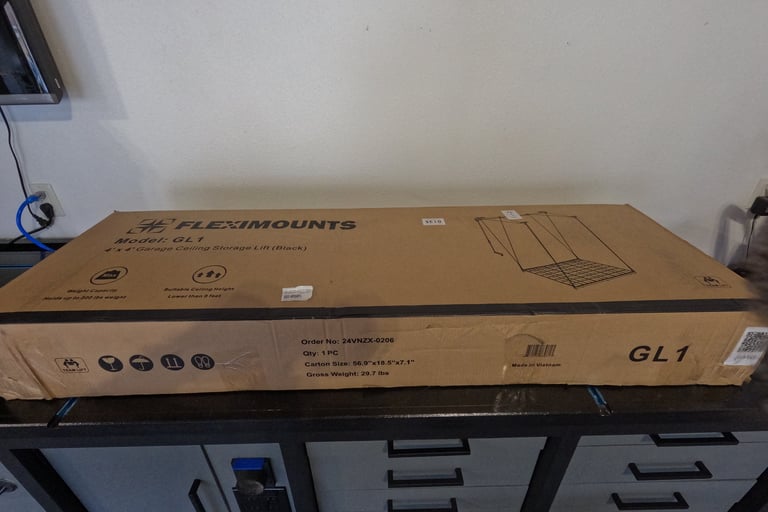
In the box:
Mounting brackets
Cardboard Ceiling template with Tape
Pulley system with axle and cables (fully assembled)
Floor system (not assembled)
Pole and handle
All tools needed for installation (minus drills and drill bits)
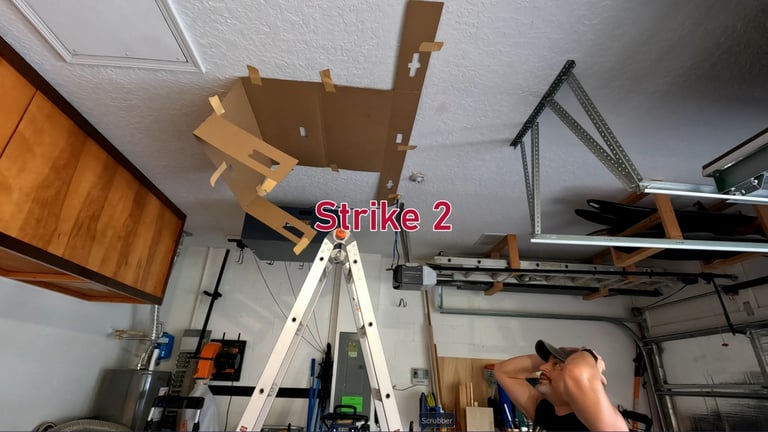
The surprise was the ceiling template. While I had trouble getting it up by myself, it was a welcome addition to the kit.
Unboxing

Key Features
Here are the key features of the system:
4'x4' base for storage
Up to 300 lbs
Good for ceilings up to 9' (my ceiling is closer to 9'6")
Ladder-free (don't need a ladder to get it down)
Frees up floor space
Suitable for 12", 16", 24" joist spacing


The first step is really to figure out where you are going to put it. It requires a spacing of 4' between joists. My advice is to know where its going to go before you purchase it. I made an assumption and had to adjust once I actually went to put it up.
One of the reasons I needed to adjust is that I made an assumption that the 4'x4' applied to the spacing of the brackets as well as the flooring. I was wrong. The installation is 4' between joists, but the spacing of the brackets on a single joist is closer to 5'. This required a little bit of adjusting.
Location, Location, Location

Put up the Template
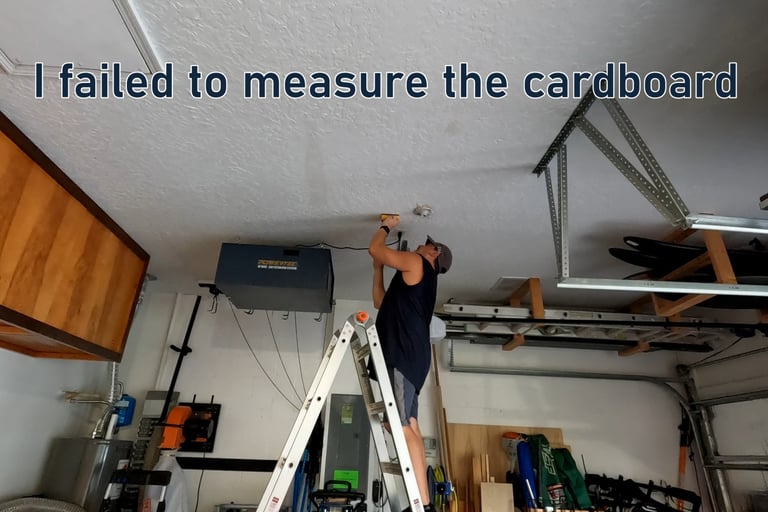
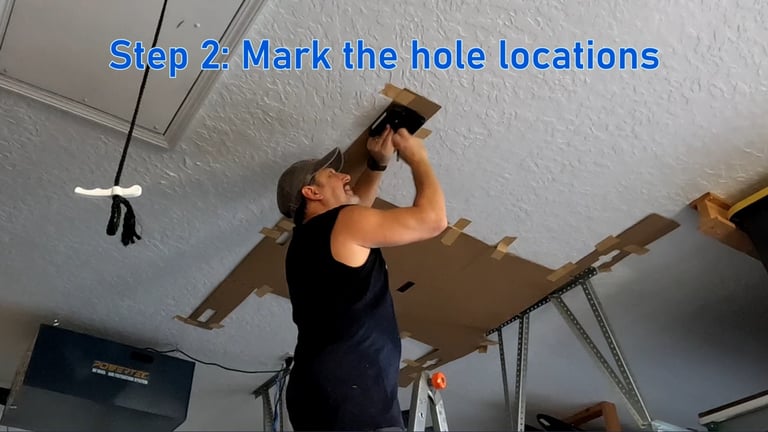
Once you've picked your spot, its time to tape the cardboard template to the ceiling. This works best if you have a helper and 2 ladders. I had a hell of a time trying to do it myself.
When it is finally secured to the ceiling, take the brackets and hold them in the openings and mark the holes for the lag bolts with a pencil.
Then take down the cardboard and pre-drill all the holes. Now, you can go back around and install the ceiling brackets using the included lag bolts. There is an included tool, but I preferred to use my hammer drill.


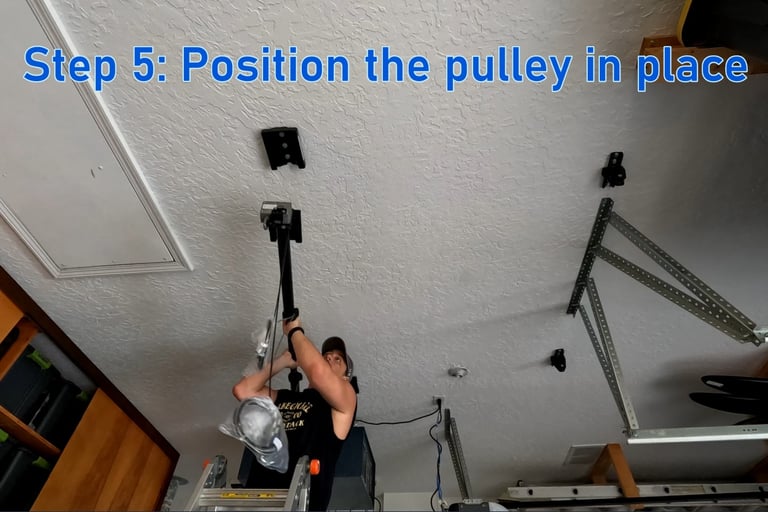
Now that the brackets are secure, its time to secure the axle. Its actually a very innovative system. You put one end in one bracket and it expands to reach the other bracket. Make sure it is facing in the correct direction. The handle slot should be in the position where I'm installing the bracket in the picture above. It is secured in place in 2 spots. First, you secure the extension with through bolts on each side. Then you screw the axle into place in each bracket.
The cables are already attached to the axle. You just need to cut the zip ties and run the longer cables through the pulley brackets.
Install the Axel

Put up the Floor
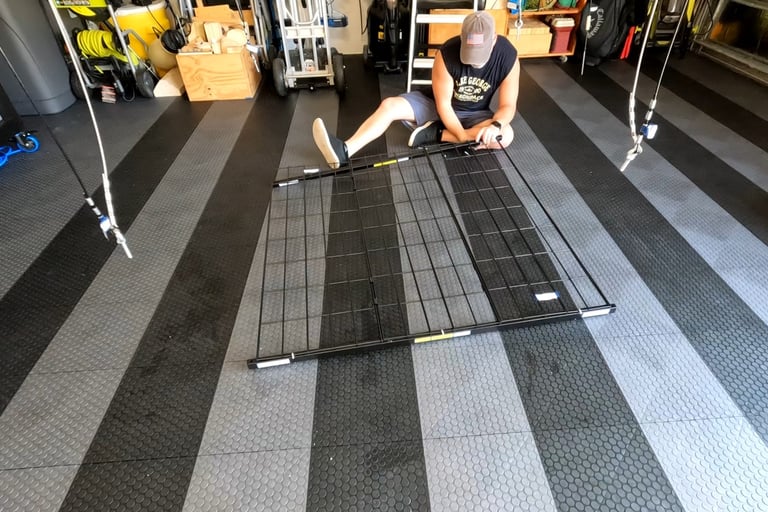
The last step is to build the floor and attach it to the cables. There are 2 support bars and a tri-fold grate that sits on top of it that is held down to the supports by angled bolts.
Once the floor is assembled, it attaches to the 4 cables with the attached bolt and 2 lock nuts on each.

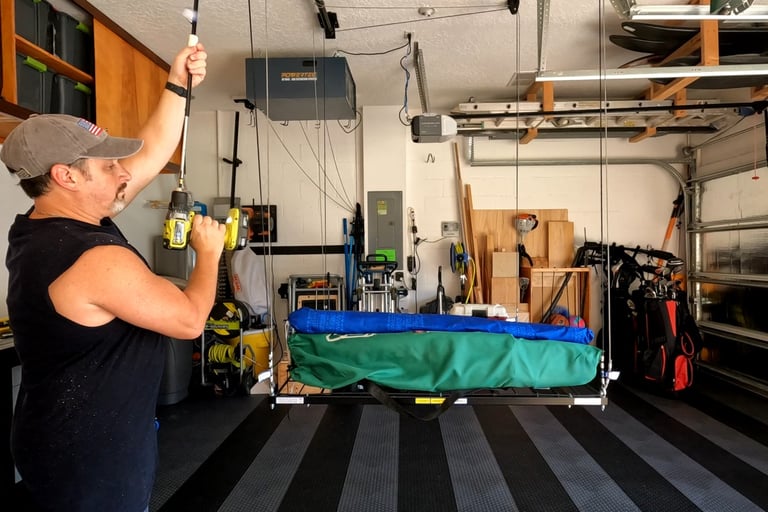
Assembly is complete. Now I just loaded it up and lifted it up. I did find the manual crank to be quite slow. Instead, I tool my power drill and put a hex bit in it and drove it up and down. Worked great and was much faster!
I recommend this product for anyone looking for more storage!
Load it up & Lift

Check out the video below....

info@mancavegarageworkshop.com
ManCave Garage Workshop
Florida
United States


@ 2023 ManCave Garage Workshop
