Fireplace Wall
Fireplace Pop Out Wall
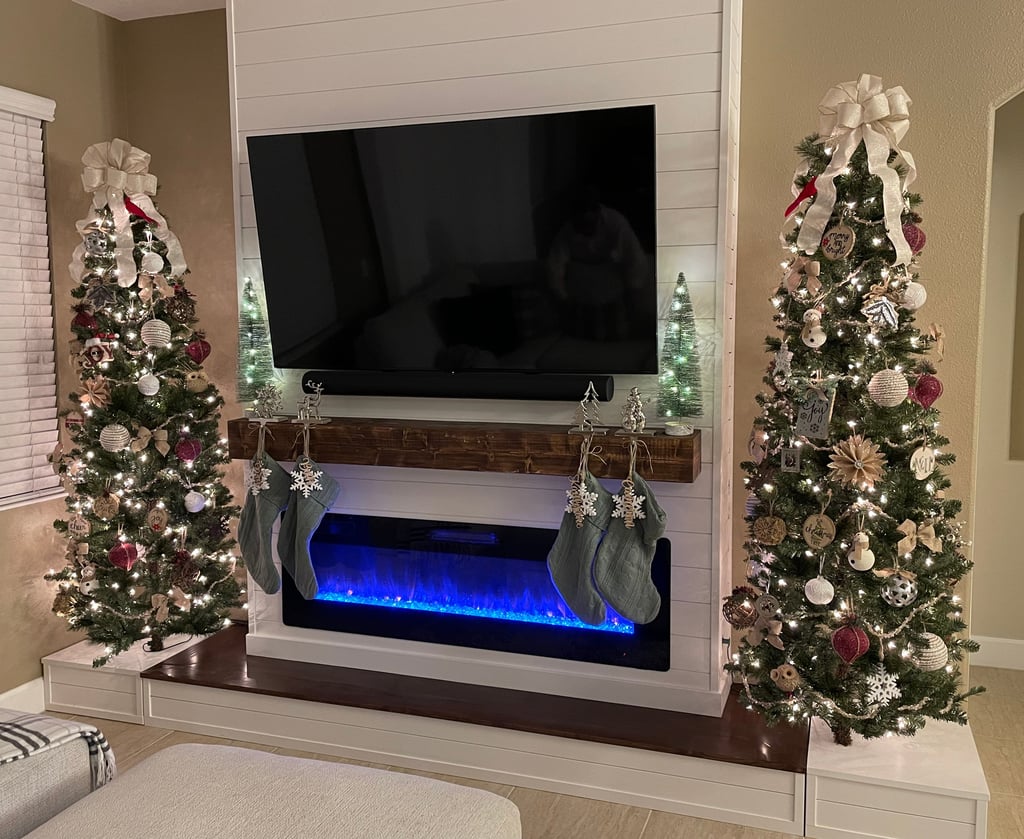
For this project, we built a pop out wall for a new electric fireplace insert, 65" TV and DIY mantel.
HOME IMPROVEMENTSLARGE PROJECTS
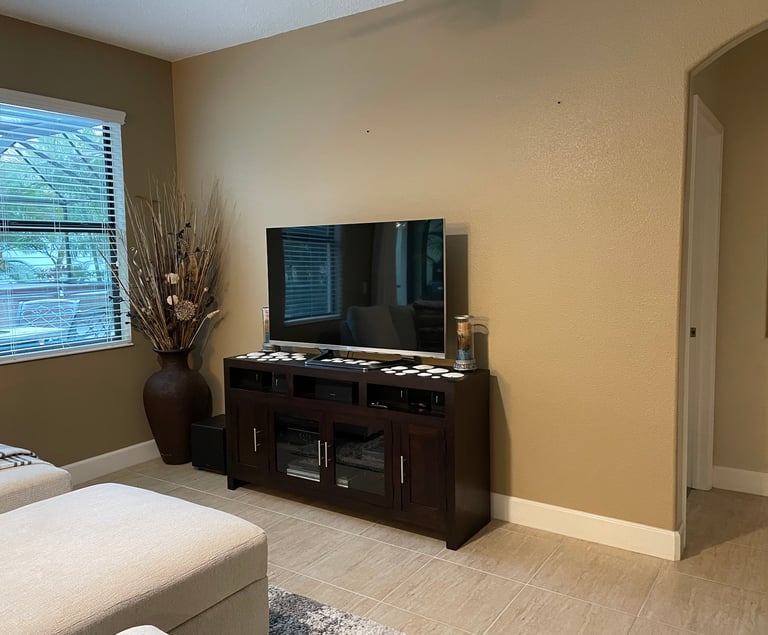
This was the view from the couch for 8 years (there was a nice picture hanging above the TV before I remembered I needed to take the "before" picture). The TV remote had to be replaced with a generic and knowing that a new TV was in our future, the wife and I decided that we needed a change of scenery too (no not a vacation). For anyone trolling Pinterest, fireplace walls are all the rage. Of course, I was good with it because, as with all new projects, new tools would be required. It just so happened that it was time to upgrade the table saw!

The first thing I did was come up with a rough design. But really, before starting a project like this, you also need to know other info like what size fireplace do you want and how big is the TV going to be. What about a mantel? Can't have a fireplace without a mantel. So the shopping began. I felt it was important to not just choose the items and then look at the specs online, but to actually have them in hand. So we went and ordered the electronics. We went with the LG 65" QNED and a 60" Electric Fireplace. Once those came in, I put together a more solidified design that is now available here on the site.
The Frame
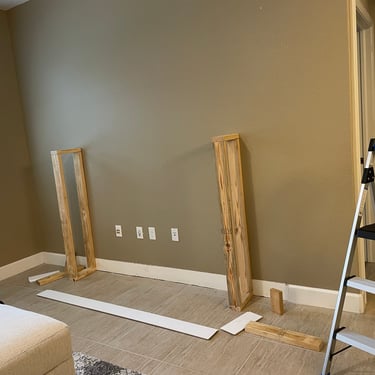
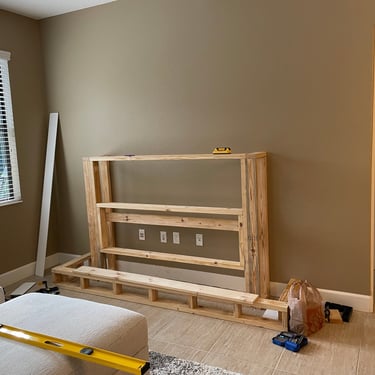
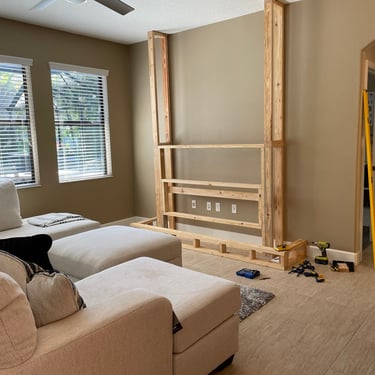
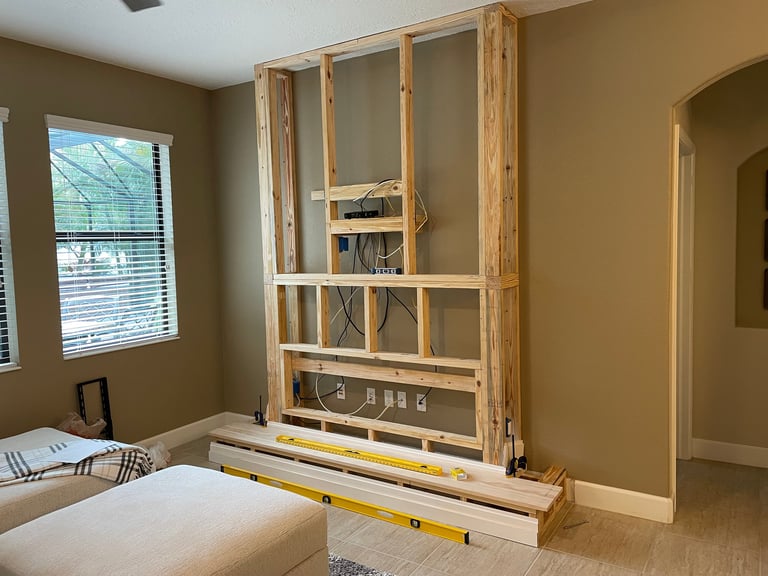
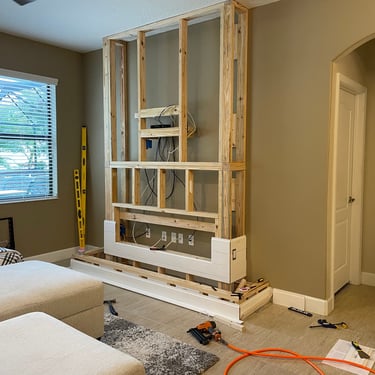
I started with the basic frame. The ceiling is 9'3". This either required 10' 2x4's (which are more difficult to get home from the box stores) or splitting the wall into 2 parts. I opted for the latter. First came the lower frame to house the fireplace. You can see I built the lower base station that is a step up in front of the fireplace. I did this to ensure I know exactly how much clearance I would have to the bottom of the fireplace glass. I also did a dry-fit of the fireplace in the frame and ensured that the depth of the rear support was correct before continuing.
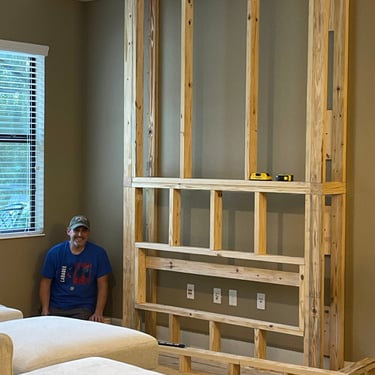
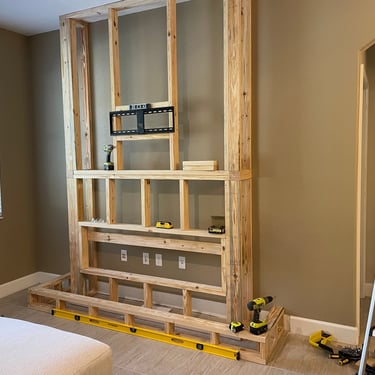
Then I built the upper frame with support for the TV Mount. This mount was meant for 24" spaced studs. I also went with an open-faced mount so that I could create a cavity in the wall to store things like a Roku and make it easy to access cables later. There is an extension mount for the soundbar to hang underneath as well.
The Electrical
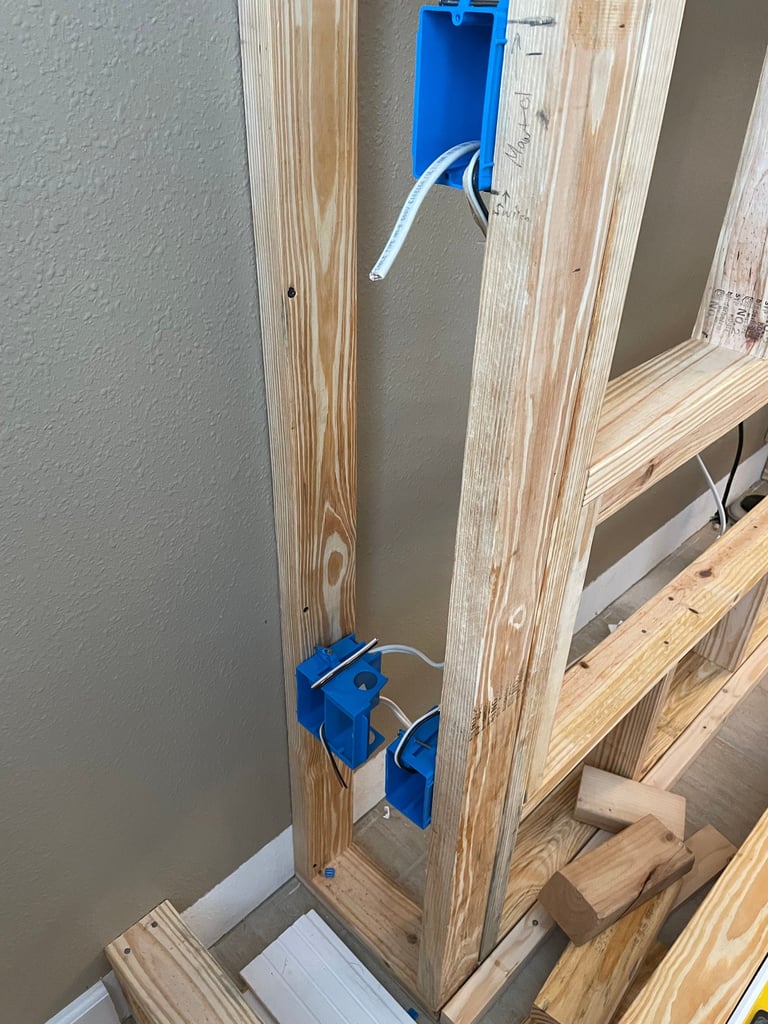
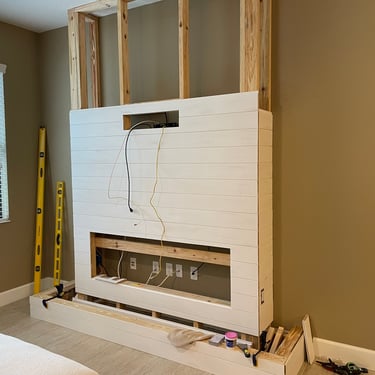
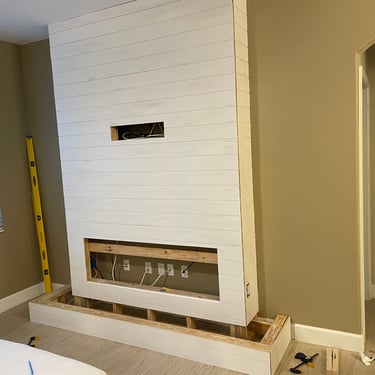
I put a lot of thought into the electrical before I even bought the wood. Since this was a Thanksgiving week project, our ultimate goal was to think about the Christmas setup. No longer would our large 9' tree fit in the space. We decided on 2 pencil trees instead that would sit on either side. That would require electric for both trees and I didn't want electrical cords spread out across our brand new fireplace so I placed outlets on either side of the frame. These were both wired into a switch at the height of the mantel (where I placed switch/outlet combo).
There is also an electrical box on the lower left that contains an always live outlet along with connectors for ethernet, HDMI and coaxial that connect up to the TV. This will allow for a station for a game console, blueray player or other electronic that we may want to connect to the TV. Since we have a second TV that has a Playstation and blueray player in another room, we didn't feel the need to have a spot for a permanent setup here.
Everything else will run out of the wall connections that was already in place. All of those will be accessible by removing the fireplace if I need to get to them.
Finally, there is an always live box just below the shelf that will hold the Roku. A power strip will be attached to that for the TV that will be attached to the back wall.


The Shiplap
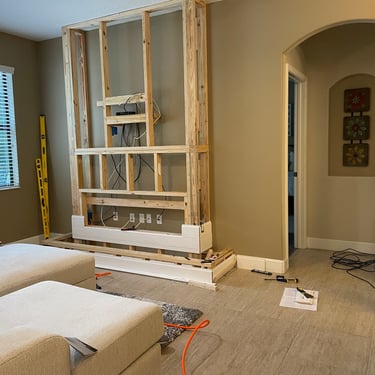
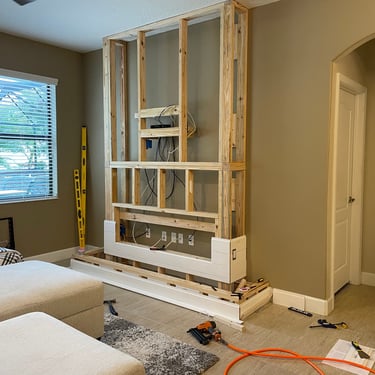
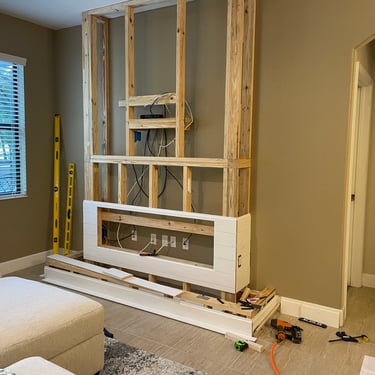
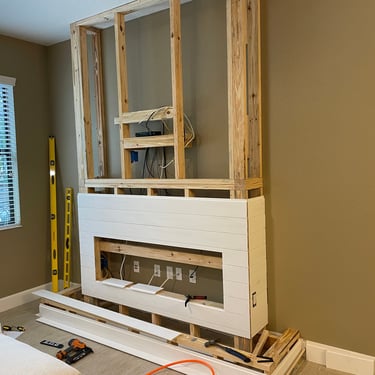
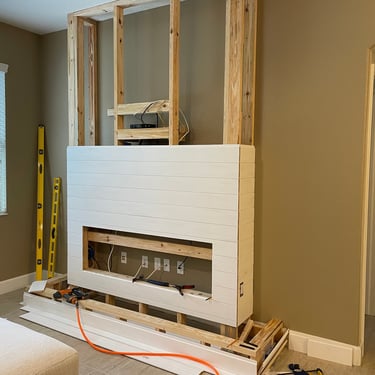
Once the frame and wiring was complete, it was time to make it look nice. On goes the shiplap. I used my brad nailer with 1-1/4" nails to put it all together. The most difficult part was cutting in for the cut outs for the fireplace, TV and electrical outlets.
The Mounting
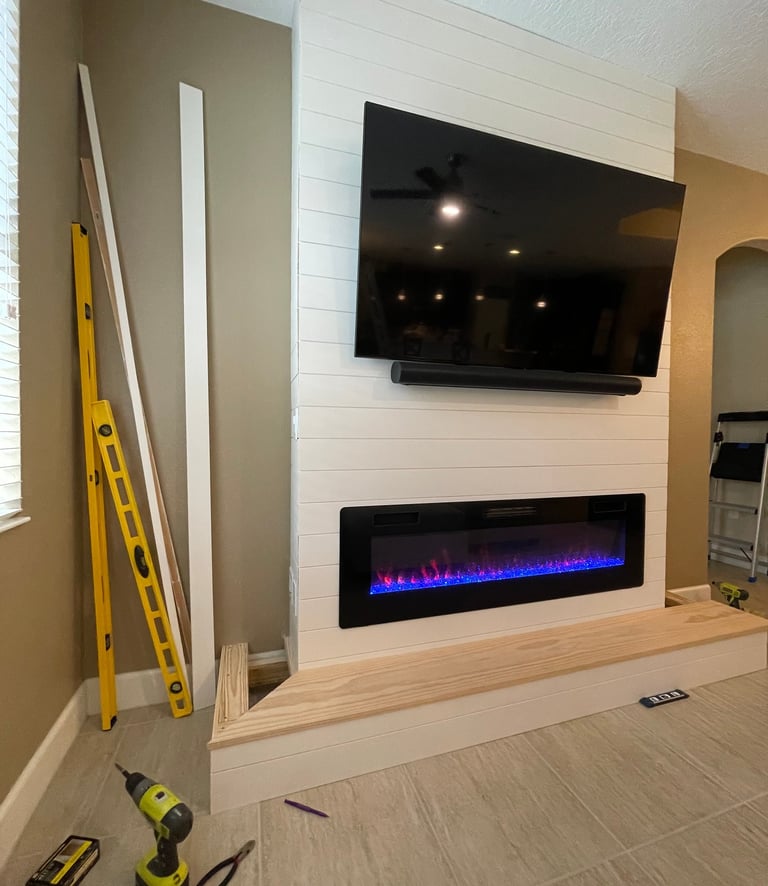
Next up was getting the TV mounted and Fireplace in and hooked up. The mount turned out to be a disaster. Originally, I had looked for a low profile mount because we walk by this wall to our bedroom and we really didn't want to see much coming off the wall. That was a mistake! Who comes up with these things? You can't get behind it at all to hook anything up. I ended up finding a low profile mount that can be pulled out from the wall and pushed back easily. My advice: start with one like the onn Full Motion TV Wall Mount.
I also got the floor plate for the lower base station complete. For this I cut 1"x12's at a 45-degree angle and used pocket hole screws to keep them flush. I ended up not even bothering to secure it down. This works out well because I can just slide it forward and store stuff within the base.

The Mantel
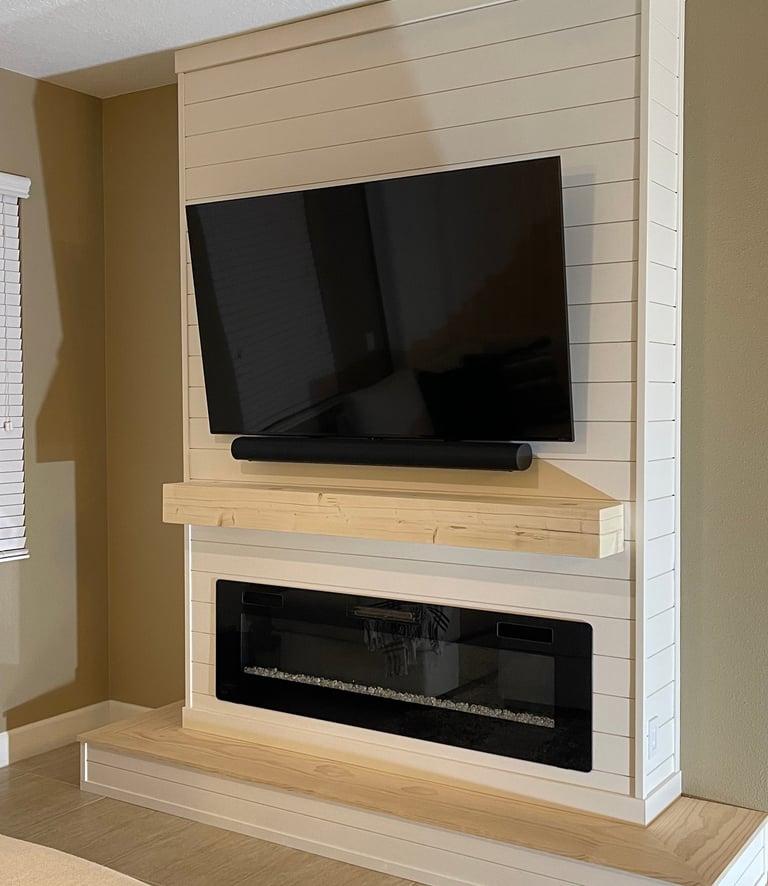
After trimming it out and painting, the final piece was the mantel. Funny story... We had been eyeing a mantel online. If you are in the market, they go for around $400. As the project was nearing completion, I asked my wife when we expected the mantel to be delivered. Well that was the wrong question. Apparently, it was still in our "cart" and it would take 10 days for shipping. So Plan B was put into effect... I built one!
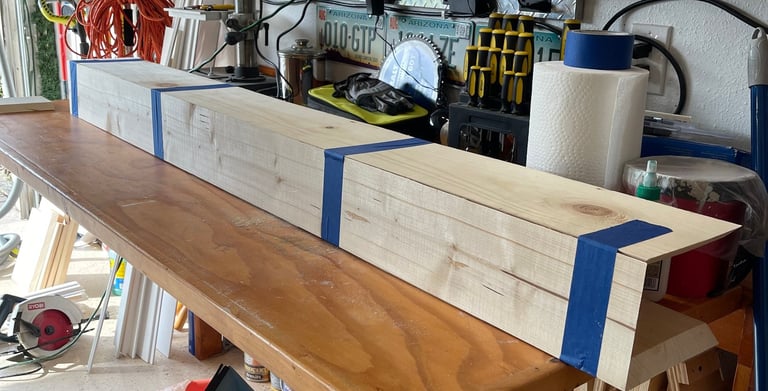
I saw a few ideas on how to do it from others online and thought, "sure, why not?". More importantly, this would let me really test out the new table saw! I must say that the new saw did awesome. I will review that at a later date. For the mantel, you can see that a bunch of 45-degree angle cuts on a few pine boards, some glue, brad nails and painters tape and you have a mantel! Ok, wood filler and a bunch of sanding too! Overall, this was probably the part of the project I was most proud of and really glad I tackled it.

The Final Product
A little stain on the wood finished the project. Oh wait, there's more! We needed a matching box for the new christmas trees so I was able to take some of the scraps and build out a box to hold the new trees and make it all look seemless. I think that it truly exceeded our expectations.
