

3D Printing
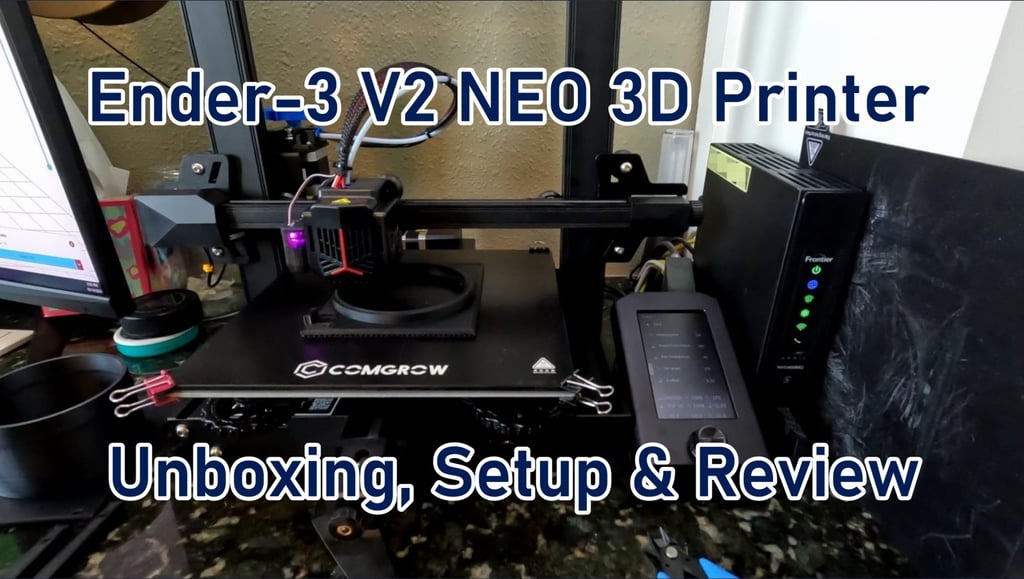
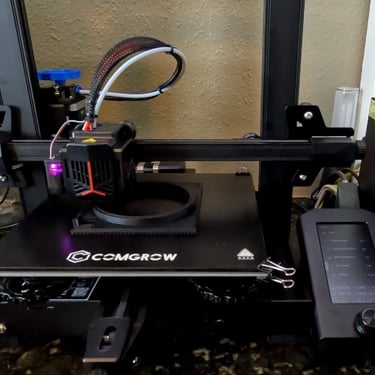
Ender-3 v2 Neo 3D Printer
Review and Unboxing of my new Ender-3 v2 Neo 3D Printer
REVIEWS3D PRINTING
After deciding that I was getting a 3D printer and doing some research (see previous blog post), I landed on the Ender 3 V2 NEO. This seemed to be the right balance of price and features for a newbie.
Let's walk through the unboxing and set up...
I bought the printer from Amazon and the box arrived in pretty good shape. The first thing I'll note is that this is not a print out of the box printer. Assembly is required.
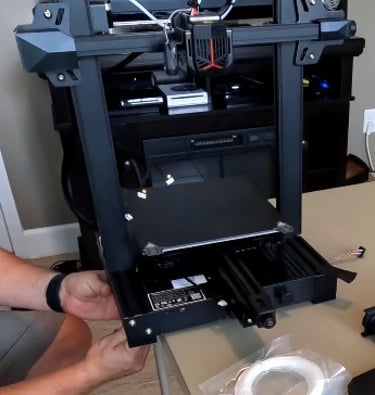
The unit comes with all of the accessories needed to operate and maintain the printer including a spatula, a cutting tool, a tool to unclog the nozzle, an extra nozzle, wrenches, allen wrenches, and even some PLA to test it with. Plus there is a draw to put all this stuff in!
Unboxing
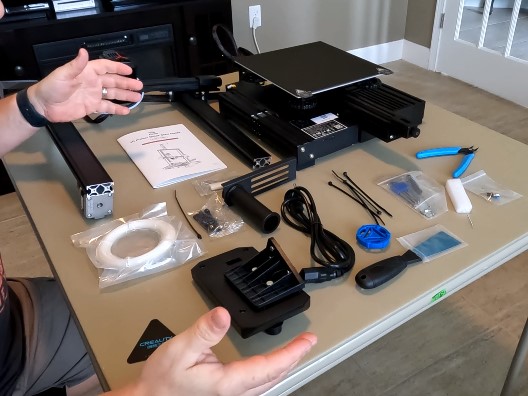
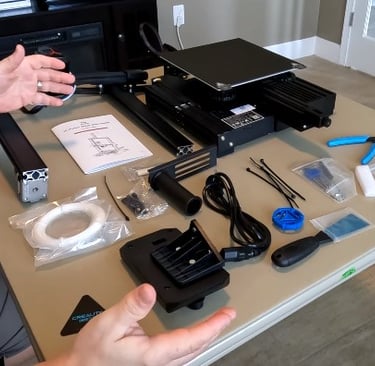
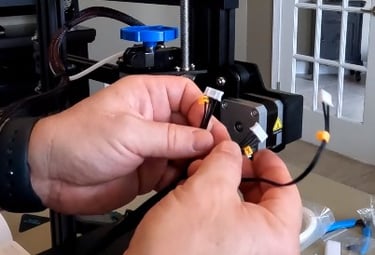
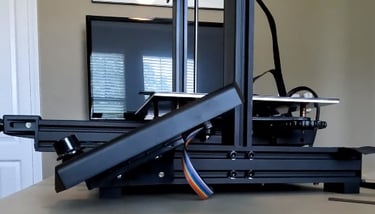
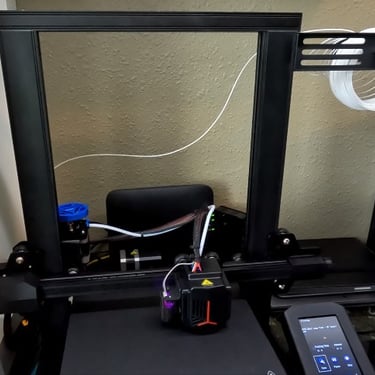
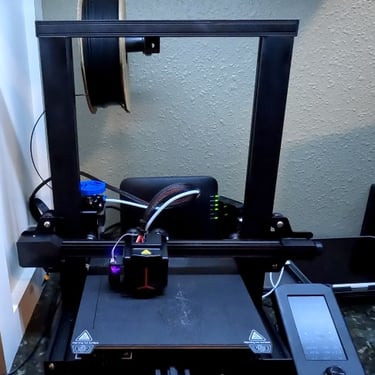
The unit came in 4 main sections, the base, the tower, the spool handle, and the display. It comes with the required tools for assembly as well. First step is to attach the tower to the base. Then attach the spool handle and finally the display. Once all that is complete and tight, you can attach the wiring which is clearly labeled to make it easy to connect up.
Assembly
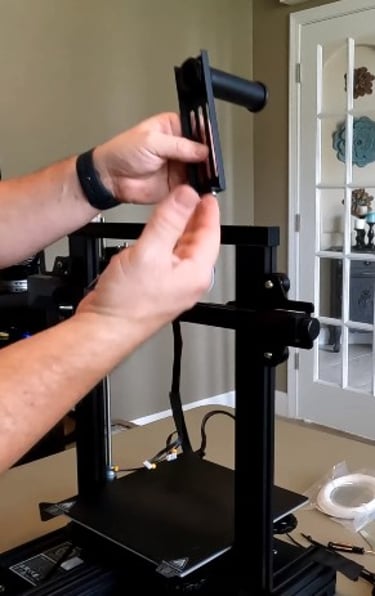
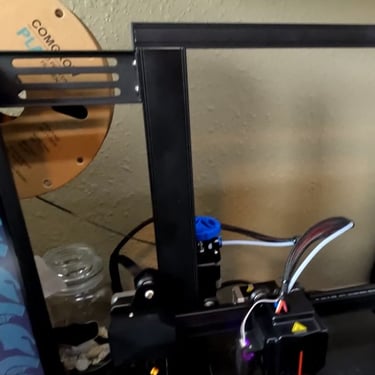
I put this on my desk in my office, buy my measurements were faulty so I had to modify where the spool handle attached. My first attempt didn't work. When I put it on the right side of the tower, the filament wouldn't feed the extruder correctly. My second attempt was to attach it to the back which didn't work either so I ended up moving it to the other side of the desk so I could attach it to the left side of the tower. Since it isn't attached to the top, it will restrict the height of my prints to the bottom height of the spool attachment.
Finding a Location
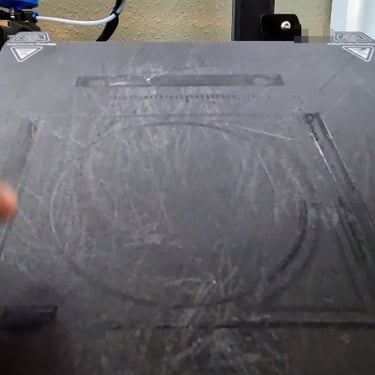
Once the printer is settled in, there are a few manual setup steps to perform. The first step, which needs to be done frequently is setting the Z-offset. Using a piece of paper and the knobs beneath the printing plate, the paper must be able to slide between the extruder and the plate with a slight bit of tension. This method is shown in the video below.
Set Up
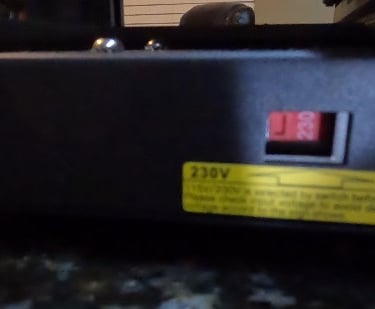
The printer has a switch for voltage. It comes set to 230. If you are in the U.S., you must change it to 115. Otherwise, as seen in the video below, you will have many issues. All of the issues I had can be chalked up to not flipping that switch.
Second, you can hook this up to your computer to send files directly to print. DON'T!!! The file doesn't actually get transferred to the computer. I found this out when my computer crashed and the print stopped and couldn't be recovered.
The flexible plate that comes with the printer seemed to be cheap. I bought a glass plate to replace it with some clips and was very happy with the results.
Things to Know
Overall, it's a pretty good first 3D printer. I imagine some of the more expensive ones would improve the experience as I had some frustrations getting started. Prints have failed on numerous occasions and I think those failures are usually tied to not doing the Z-offset and auto-leveling every time. I do recommend this printer for hobbyists who will use the printer on occasion. If you are going to be printing often, I think I would recommend a more expensive printer with features that offer faster print speeds and a better leveling experience.

info@mancavegarageworkshop.com
ManCave Garage Workshop
Florida
United States


@ 2023 ManCave Garage Workshop