DIY Cornice / Valence
DIY Cornice
Building the frame for a rolling workbench build with tons of features for your garage workshop.
SMALL PROJECTSHOME IMPROVEMENTS
Gary Goz
7/14/20243 min read
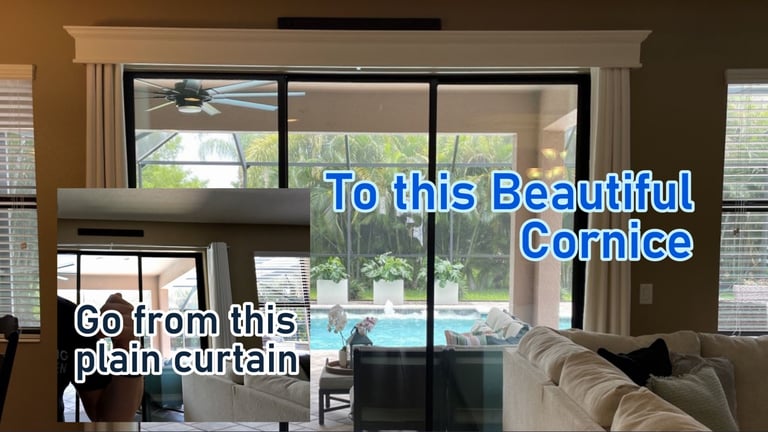
The old curtain rod served its purpose but the wife was asking for a long time for a valence, otherwise known as a cornice. Not sure why I waited so long to do this one. It was probably because this is a 9' doorway and transporting boards long enough is a pain in the ass.


Here's what you are going to need:
(2) 1x8 boards - length is determined by the size of the door or window. You will need enough to wrap back 7-1/2" on each end.
(1) 1x2 board - this is the piece that will hang it up
(1) lower molding - this is personal preference on type. You will need enough to wrap back 7-1/2" on each end.
(1) crown molding - this is personal preference on type. You will need enough to wrap back 7-1/2" on each end. Note: this is from the bottom of the molding. Because of the 45 degree angle cut, it will be longer at the top. Make sure your boards are long enough.
That's it!
For my project, I bought (2) 1"x8"x12' pine boards, (1) 1"x2"x10' pine board, (1) 12' 3/4" bottom molding and (1) 12' crown molding. Plus a 10' wrapped wooden curtain rod.
For hardware, I bought some 1-1/4" pocket screws, a couple pairs of curtain rod supports, and some 1-1/4" brad nails.
Oh, and paint!
The Materials
Cutting the boards
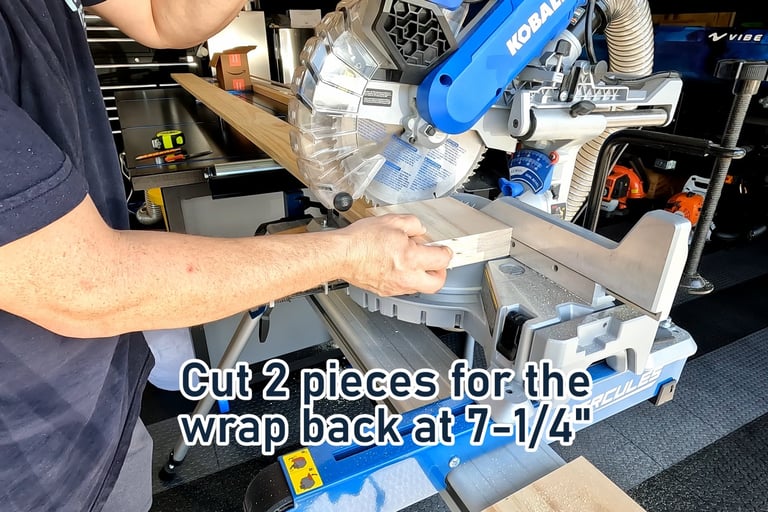
To start, I cut the (2) wrap back pieces from one of the 1x8's. Each is 7-1/2" long to match the width of the top board. I also cut a middle support which was 6-3/4" long. This piece, I cut the back end at a 45 degree angle so it lined up on the wall. You will see what I mean in the video.
Then to finish the long 1x8 boards, the front is 10' and the top is 1-1/2" shorter at 9' 10-1/2".
The 10' board that would be the top got pocket holes drilled into it every foot.
The 10' board that would be the front got one pocket hole drilled on each end.
I also measured out the 1x2's to fit between the end caps and the middle support and cut those as well as the curtain rods.


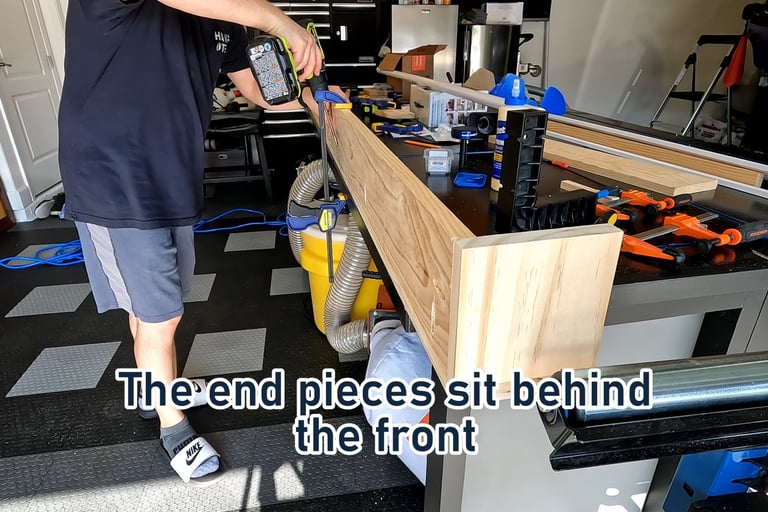
The 1x8 boards are assembled with a front (10'), a top (9' 10-1/2"), two end caps (7-1/2") and a middle support (7-1/2").
The top board gets a pocket hole every 12" and one on each end.
The 2 end caps and middle support each get a pocket hole at the front edge.
Then, everything gets assembled together using 1-1/4" pocket screws and wood glue.
Main Assembly


Molding
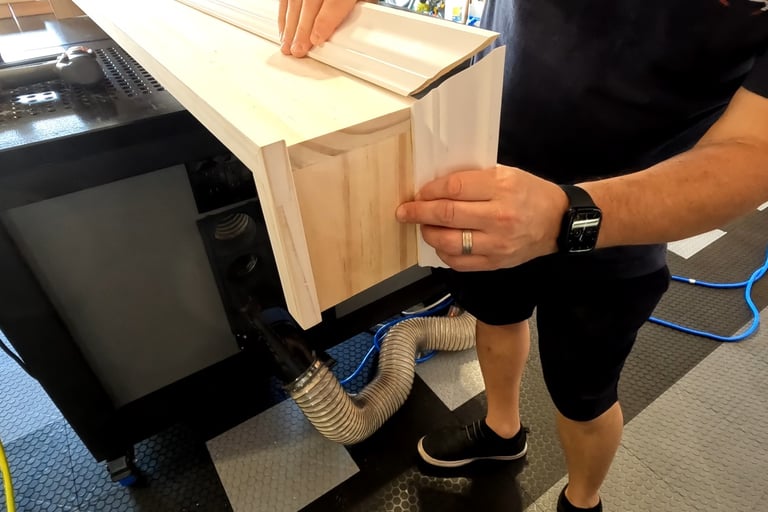
Now that the main assembly is together, it's time to add the molding. I cut the bottom molding first using a miter box to keep it from splintering on the miter saw. Everything is cut at a 45 degree angle. Glue and brad nails attach it to the main assembly.
The crown molding is tricky. I screwed up my first piece. Make sure you understand the proper 45 degree angle cut and the bottom of the molding will be at the narrow end (this was where I made a mistake and had to buy a whole new piece).
Cut the molding while holding it at the angle it will sit on the cornice with the miter saw tilted at 45 degrees (not turned - see the video). I recommend cutting it a little long at first to make sure you've got the right length.
Then I glued and nailed it in place. A little sanding of the edges made it perfect!
Once everything was dry, I filled the nail holes with some drywall patch and sanded it all down, cleaned it up and painted the whole thing including the 1x2 supports.


Once I attached the curtain rod supports, the cornice was complete.
To hang it, I measured out the location of the supports and put them up using a level. Once these were secured to the wall, with a little help, I positioned the cornice on the supports and screwed it down on top of them firmly in place.
All that was left was to put up the curtains and show it off to the wife!
Hardware and Hang

Check out the video below....

info@mancavegarageworkshop.com
ManCave Garage Workshop
Florida
United States


@ 2023 ManCave Garage Workshop
